Advertisement:

Read Later
Did you know that you can create clickable areas on an image by using an HTML tag named map, using the coordinates on images? And, I thought that creating an image slideshow by using the HTML map tag would be an enlightening guide to show how to use the areas embedded in the HTML map element for images. I merely used the onclick event for the mentioned areas to detect whether clicked or not and the images array to slide between images as depicted on the code below.
Usage(1)
The <map> tag is used to define a client-side image-map. An image-map is an image with clickable areas.
The required name attribute of the <map> element is associated with the <img>'s usemap attribute and creates a relationship between the image and the map.
The <map> element contains a number of <area> elements, that defines the clickable areas in the image map.
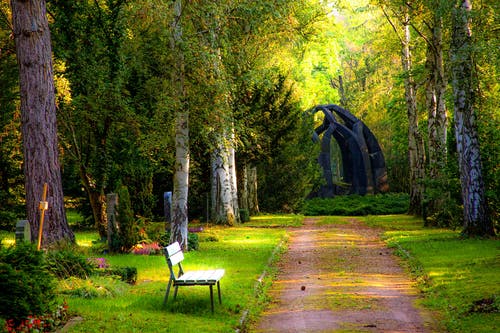
The images array contains all images paths in the slideshow to be displayed.
SlideMap consists of two rectangular shaped areas named Slide_Minus and Slide_Plus.
When Slide_Minus clicked, the changeImages function is instigated by -1 in order to decrease the index number defined as 0 in default.
When Slide_Plus clicked, the changeImages function is instigated by 1 in order to increase the index number defined as 0 in default.
If the index number is bigger than the length of the images array minus 1, the changeImages function changes the index number as 0.
If the index number is smaller than 0, the changeImages function returns the length of the images array minus 1 as the index number because javascript array elements are indexed starting with zero.
Which is why the changeImages function turns either the last or the first picture according to the index number value and makes a slideshow.
I digress. Regardless of previous explanation, I used the querySelector() method to access the image element, it selects the first child of a parent element that matches the specified selectors. Thus, the changeImages function is able to change image paths by using the src() method as well-explained on the code below, without any identifiers.
// HTML


<div class="slide-images-show">

<img src="1.jpeg" alt="Slide" usemap="#SlideMap">

// Define map areas as rectangles with coordinates.

<map name="SlideMap">

  <area shape="rect" coords="0, 100, 100, 200," alt="Slide_Minus" onclick="changeImages(-1);">

  <area shape="rect" coords="300, 100, 200, 200" alt="Slide_Plus"  onclick="changeImages(1);">

</map>

// Write the index number for slides.

<p id="number">1 / 4</p>

// Create the images array that contains all image paths.

<script>

var images = [

'1.jpeg',

'2.jpg',

'3.jpeg',

'4.jpg'

];

// Define the index number as zero.

var index = 0;

// Increase the index number in regard to the input(1).

function changeImages(i){

   index = index + i;

   if(index > images.length-1){

	   index = 0;

   }

   else if(index < 0){

	   index = images.length-1;

   }

   // Change pictures and write the index number for slides.

	document.getElementsByClassName("slide-images-show")[0].querySelector("img").src = images[index];

	document.getElementById("number").innerHTML = index + 1 + " / " + images.length;

}


</script>


</div>
Result:
1 / 4
(1) https://www.w3schools.com/tags/tag_map.asp