Advertisement:
Read Later
In this tutorial, I will show you how to set up and enable a LAMP (Linux, Apache, MySQL, PHP) server on Raspberry Pi to be able to create projects requiring server communication and data collection without needing any other device.
If you are a novice in programming with Raspberry Pi, you can inspect well-explained instructions and tutorials on the official Raspberry Pi website.
To go to the official Raspberry Pi setting up tutorial, click here.
- Open a terminal window by selecting Accessories > Terminal from the menu.
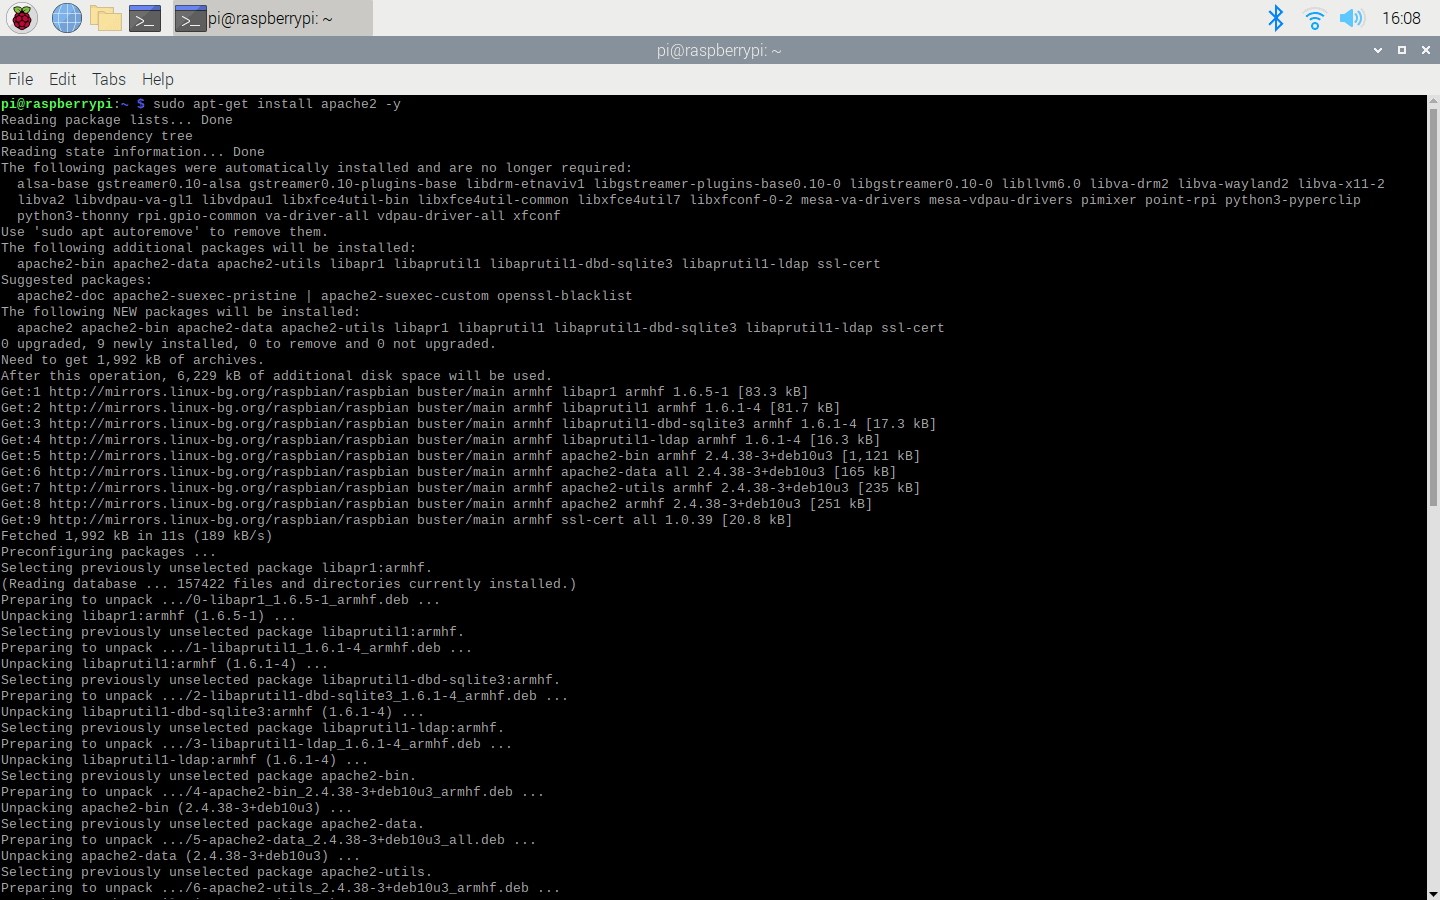
- Install the apache2 package by typing the following command into the terminal and pressing Enter:
sudo apt-get install apache2 -y
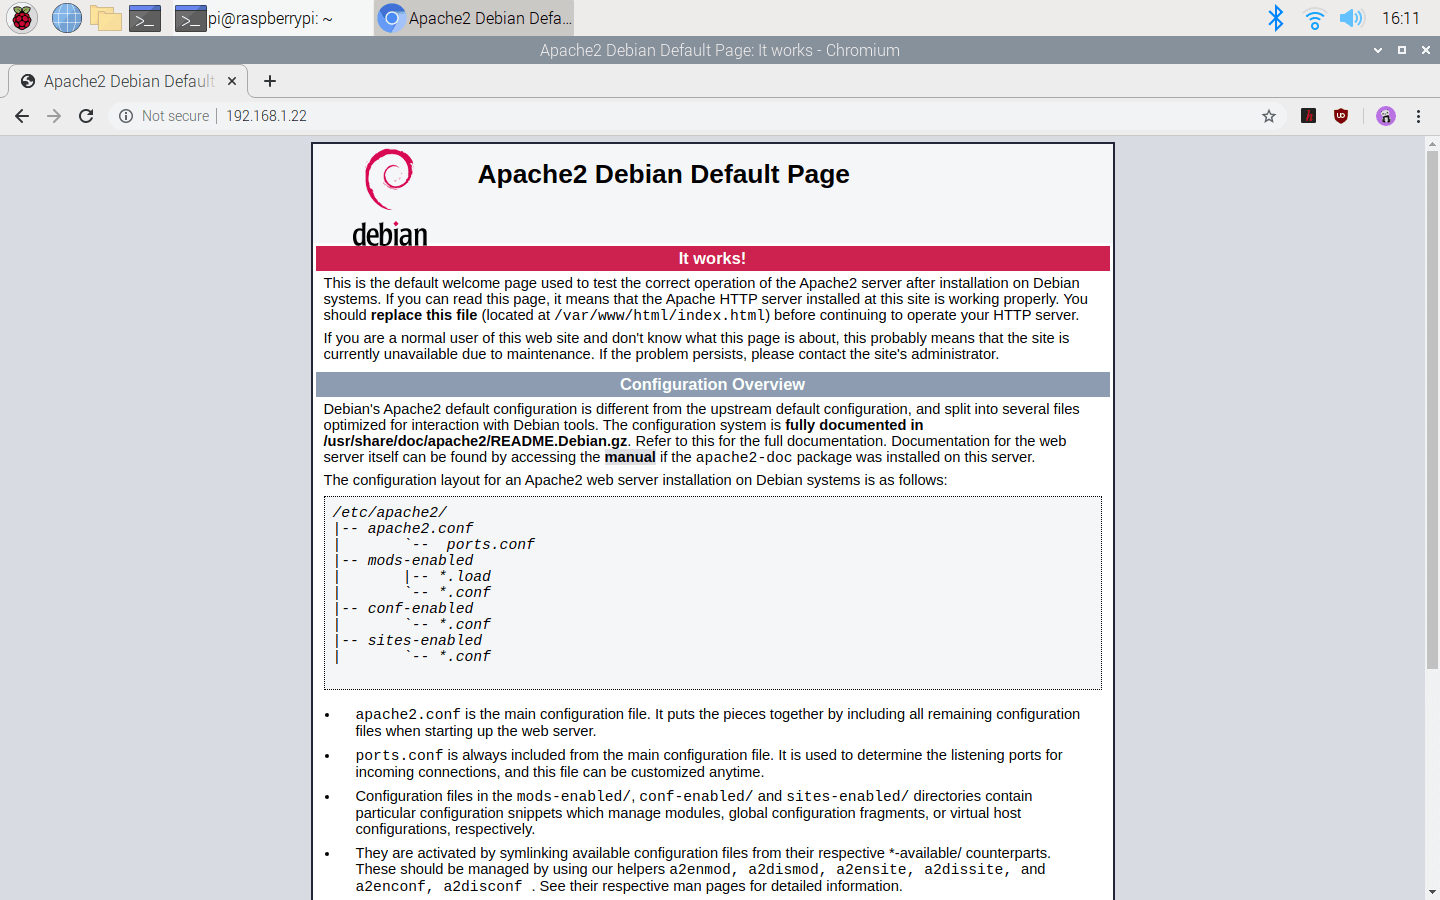
- To test the server, open Chromium by selecting Internet > Chromium Web Browser from the menu and enter http://localhost.
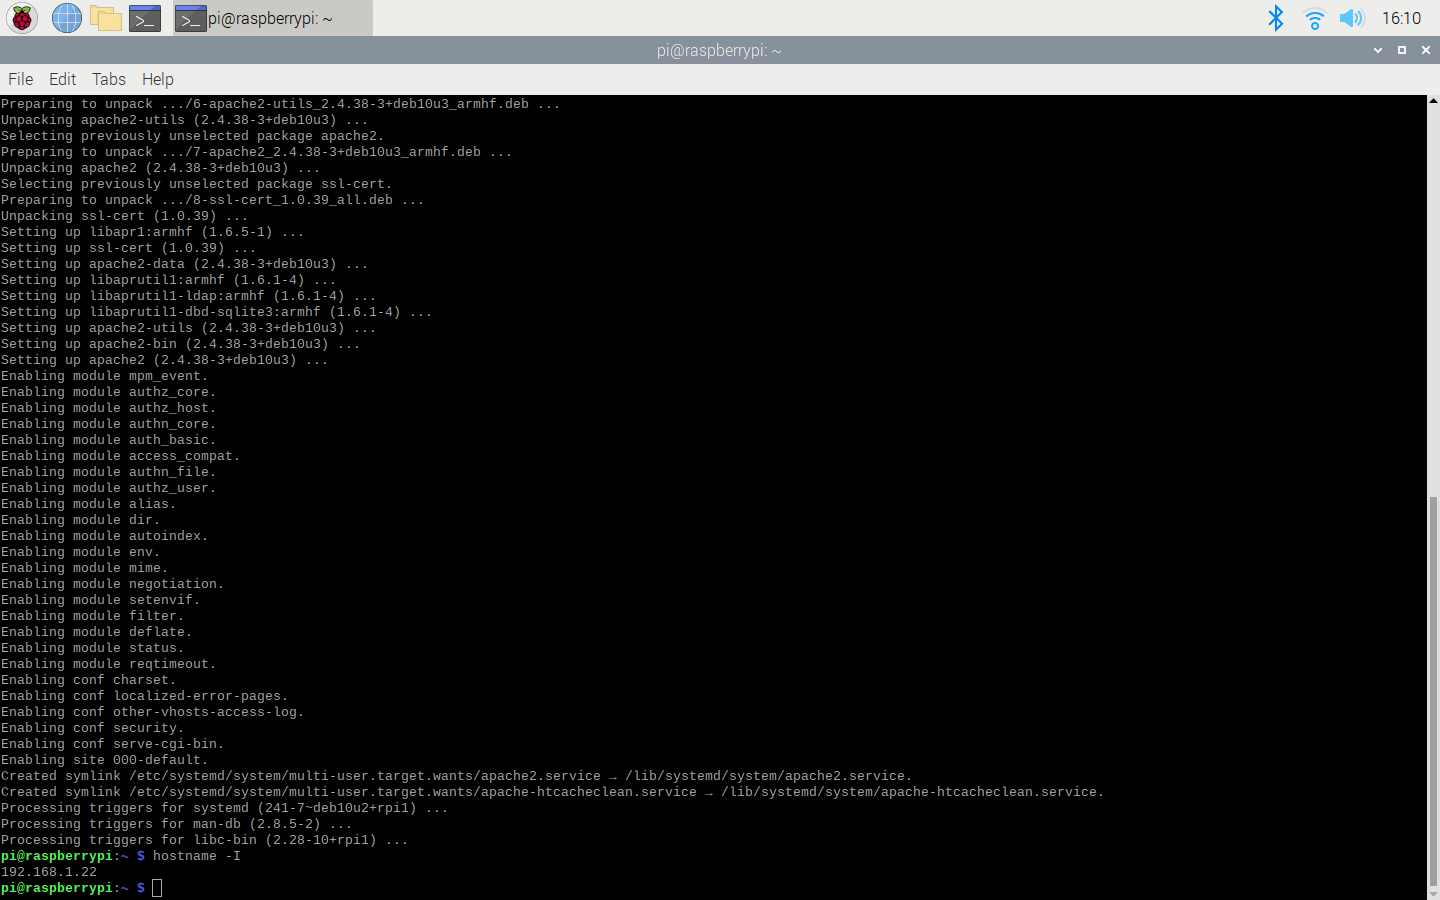
- If you want, you can use the IP address of your Raspberry Pi as well.
hostname -I
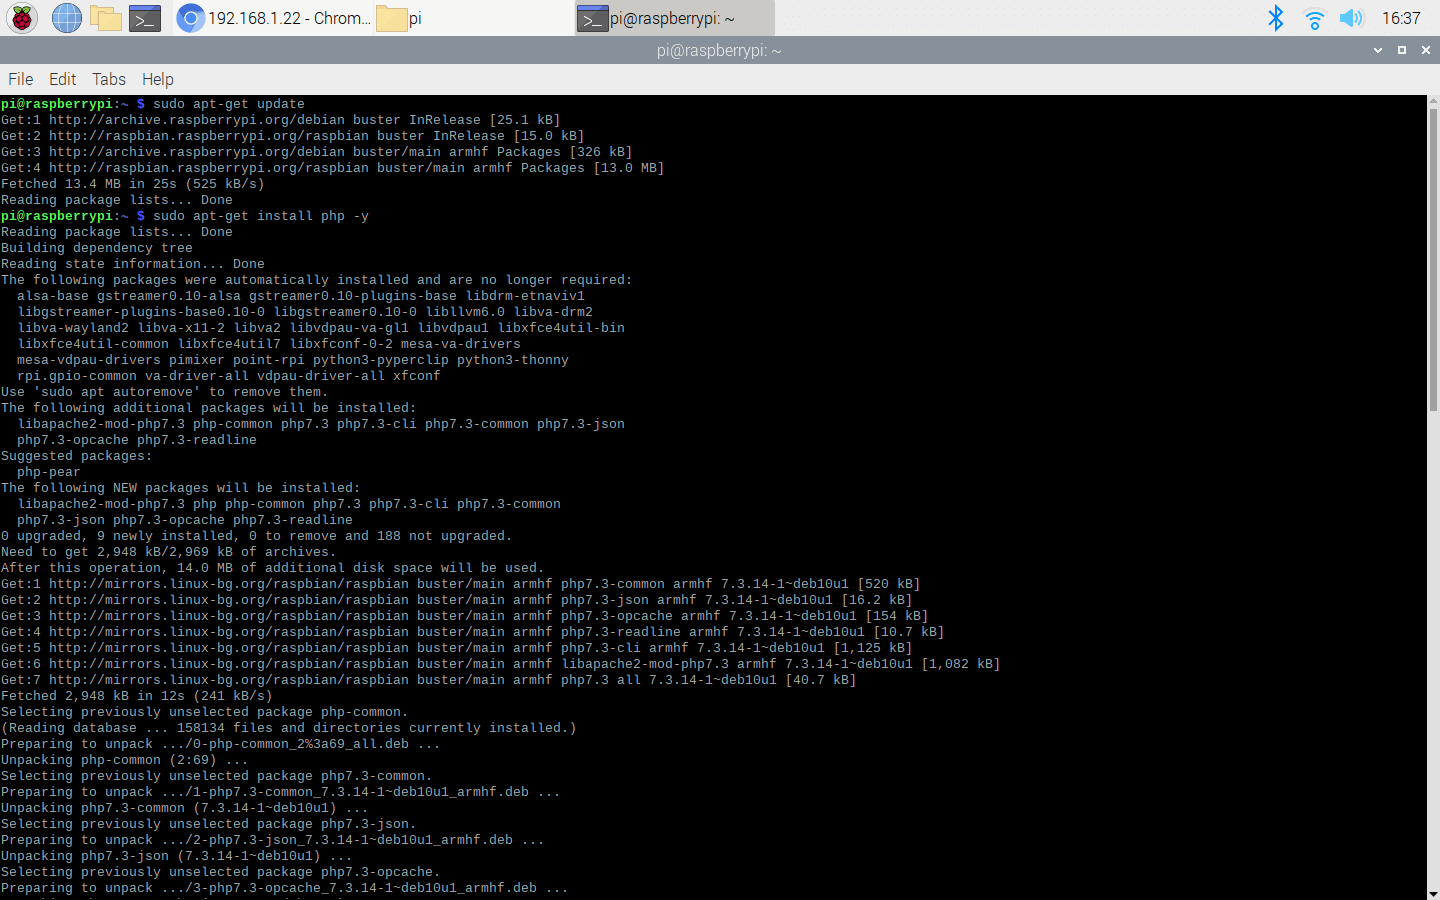
- Install the PHP package with the following command:
- Do not forget to update the Pi.
sudo apt-get update
sudo apt-get install php -y
- Install the MySQL Server (MariaDB) and PHP-MySQL packages by entering the following command into the terminal window:
sudo apt-get install mariadb-server php-mysql -y

- To create a new user, run the MySQL secure installation command in the terminal window.
sudo mysql_secure_installation
- You will be asked Enter current password for root (enter for none): — press Enter.
- Type in Y and press Enter to Set root password.
- Type in bot at the New password: prompt, and press Enter.
- Type in Y to Remove anonymous users.
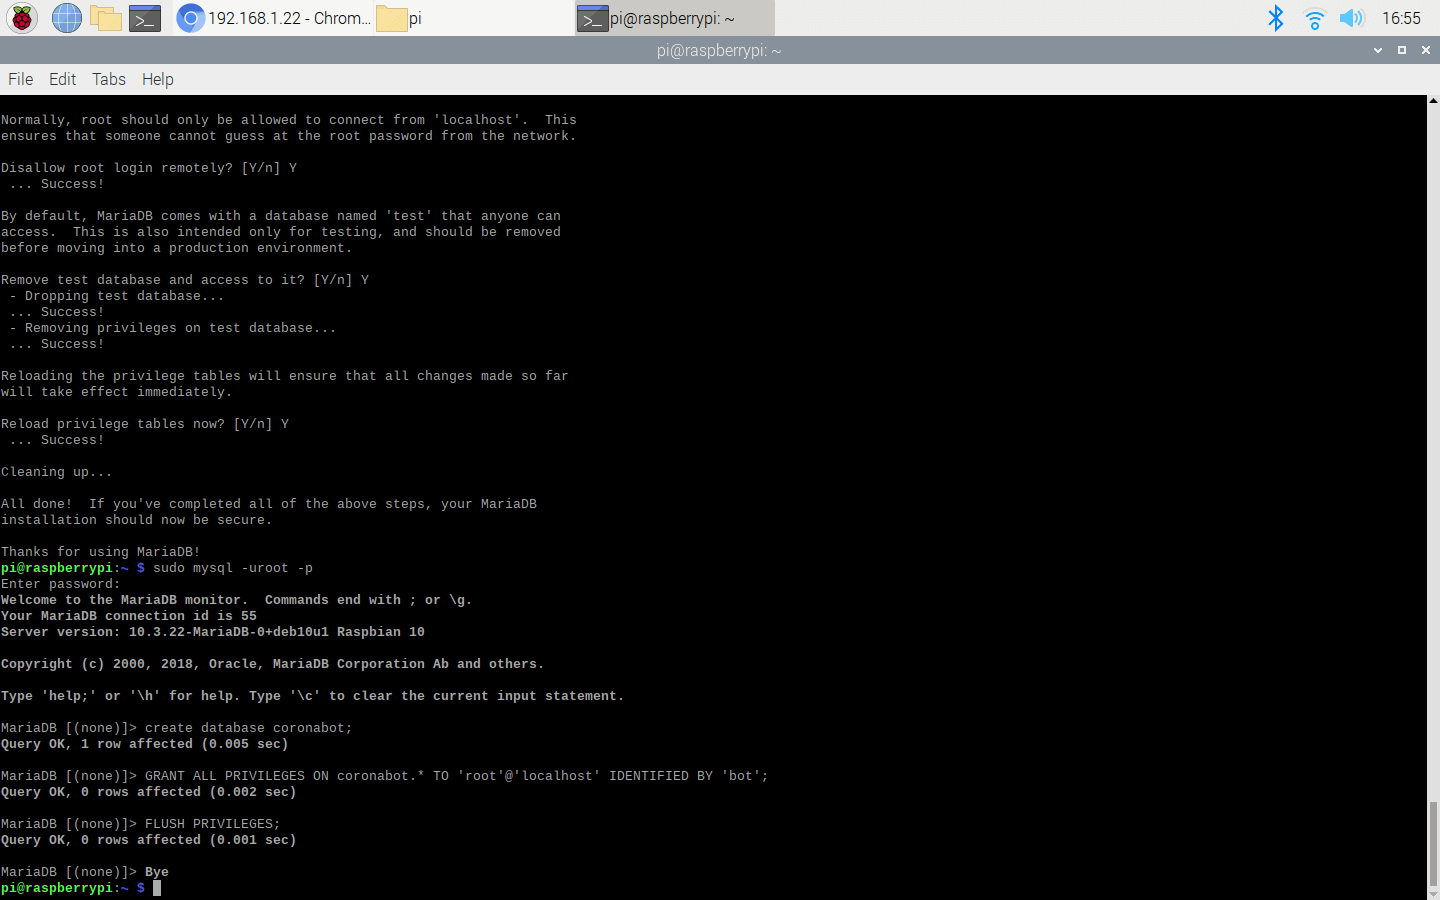
- Type in Y to Disallow root login remotely.
- Type in Y to Remove test database and access to it.
- Type in Y to Reload privilege tables now.
- When complete, you will see the message All done! and Thanks for using MariaDB!.

- To create a database (such as coronabot created for my electronics project mentioned in Result), run mysql in the terminal window:
sudo mysql -uroot -p
- Enter the root password - bot
- You will be greeted by the message Welcome to the MariaDB monitor.
- Create the database, named as coronabot, at the MariaDB [(none)]> prompt using:
create database coronabot;
GRANT ALL PRIVILEGES ON coronabot.* TO 'root'@'localhost' IDENTIFIED BY 'bot';
FLUSH PRIVILEGES;
- Exit the MariaDB prompt with Ctrl + D.
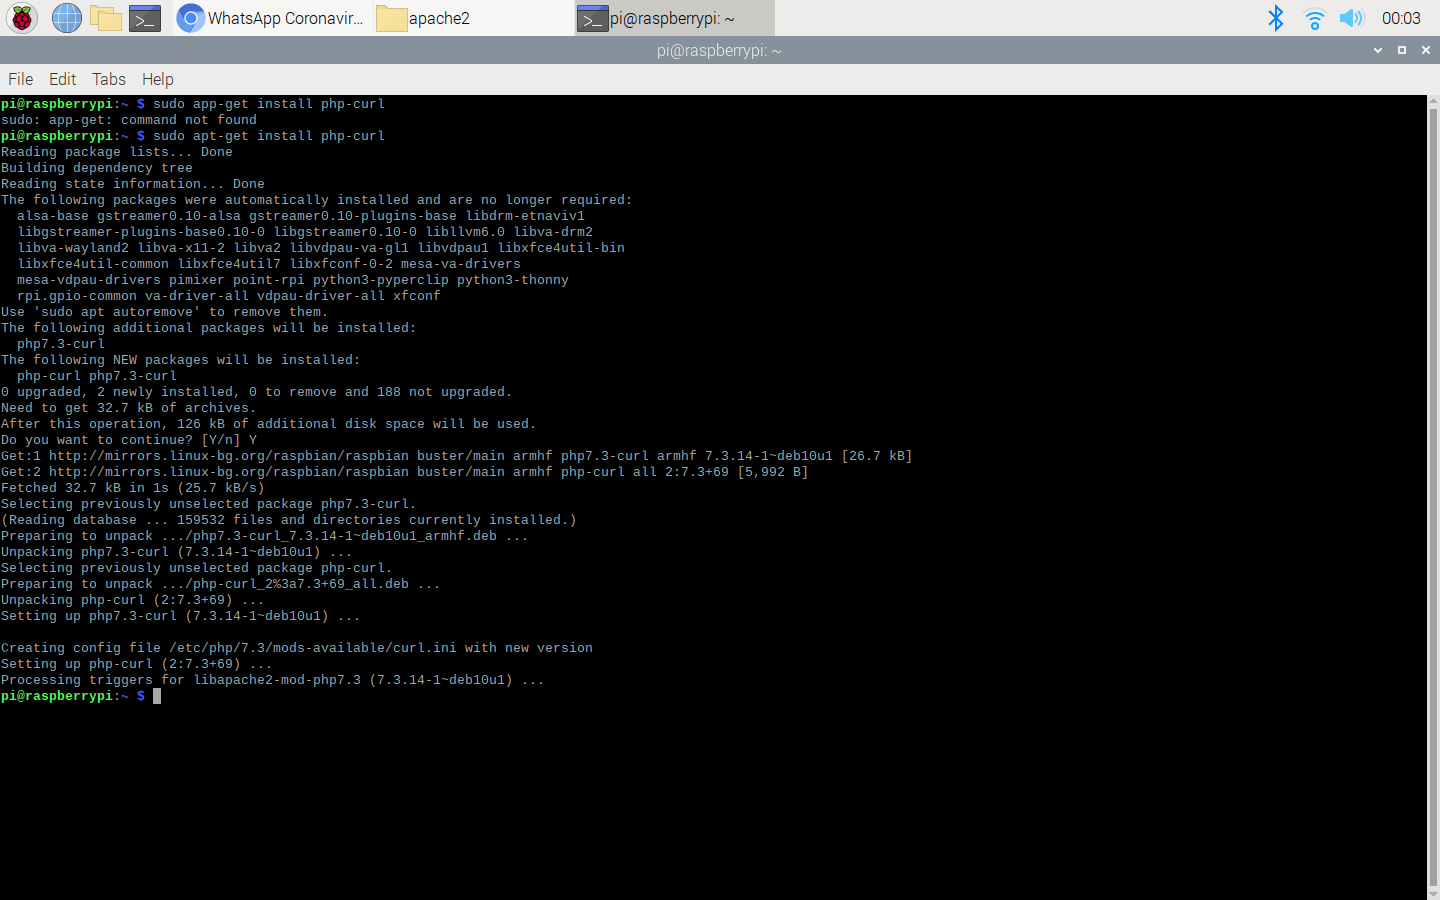
- To be able to activate cURL on Raspberry Pi, install the php-curl package:
sudo apt-get install php-curl
- Then, restart the apache server to be able to use the installed packages on the localhost:
sudo service apache2 restart
Result:
You can inspect my electronics project in which I used the mentioned steps to develop a bot working on the LAMP server on Raspberry Pi from here.