This is a designing tutorial about programming a customer interface without implementing any server side language for beginners. It is hard to find a theme or a pattern to begin coding without any instruction and so is very challenging to create new ideas without a template. I wanted to explain how to design a customer interface by using html and pure css in a basic and rudimentary form and, of course, you could take this project further by implementing a server side language on the source code, such as php and python. If you know nothing about making grid layout, implementing new fonts, using liner gradient as background, implementing Font Awesome icons, internal linking and using @media query for mobile version, this tutorial and its example project might help you to understand these concepts.
For more information about the code files, please visit Source Code section below.
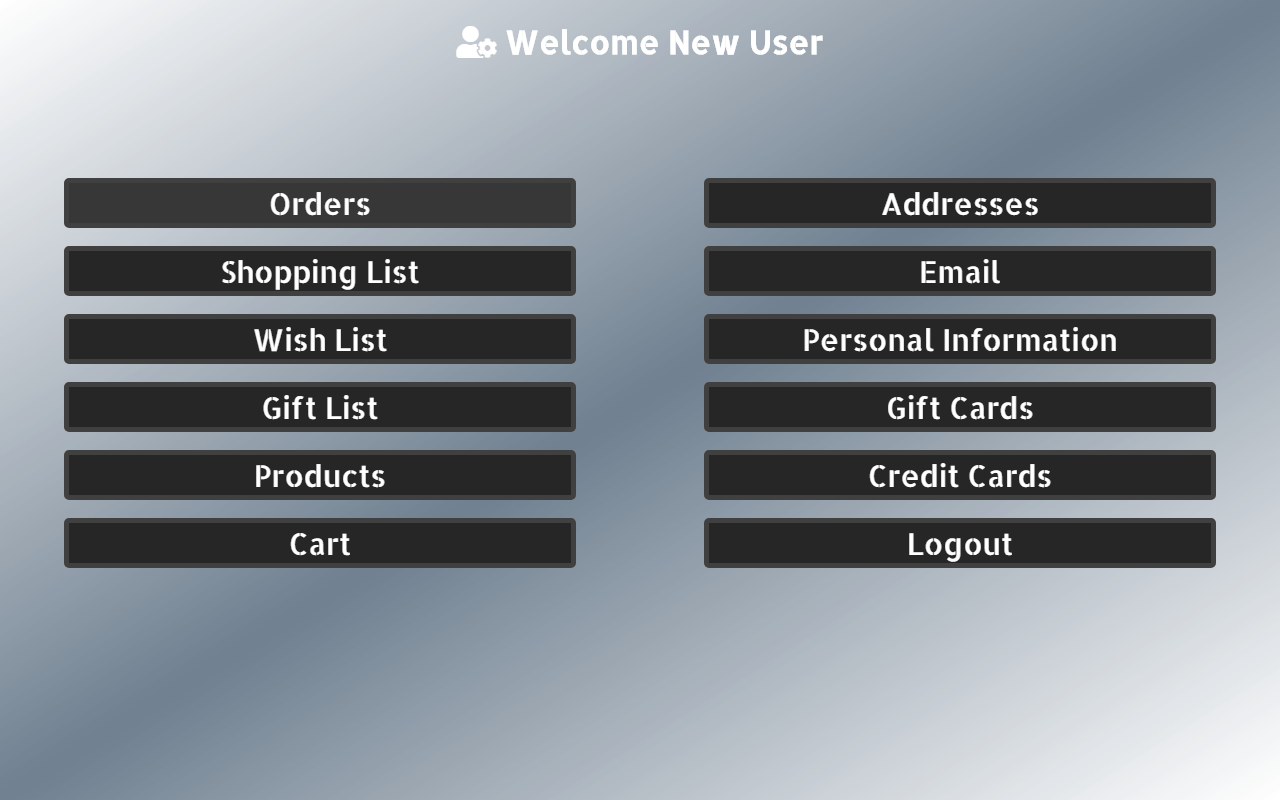
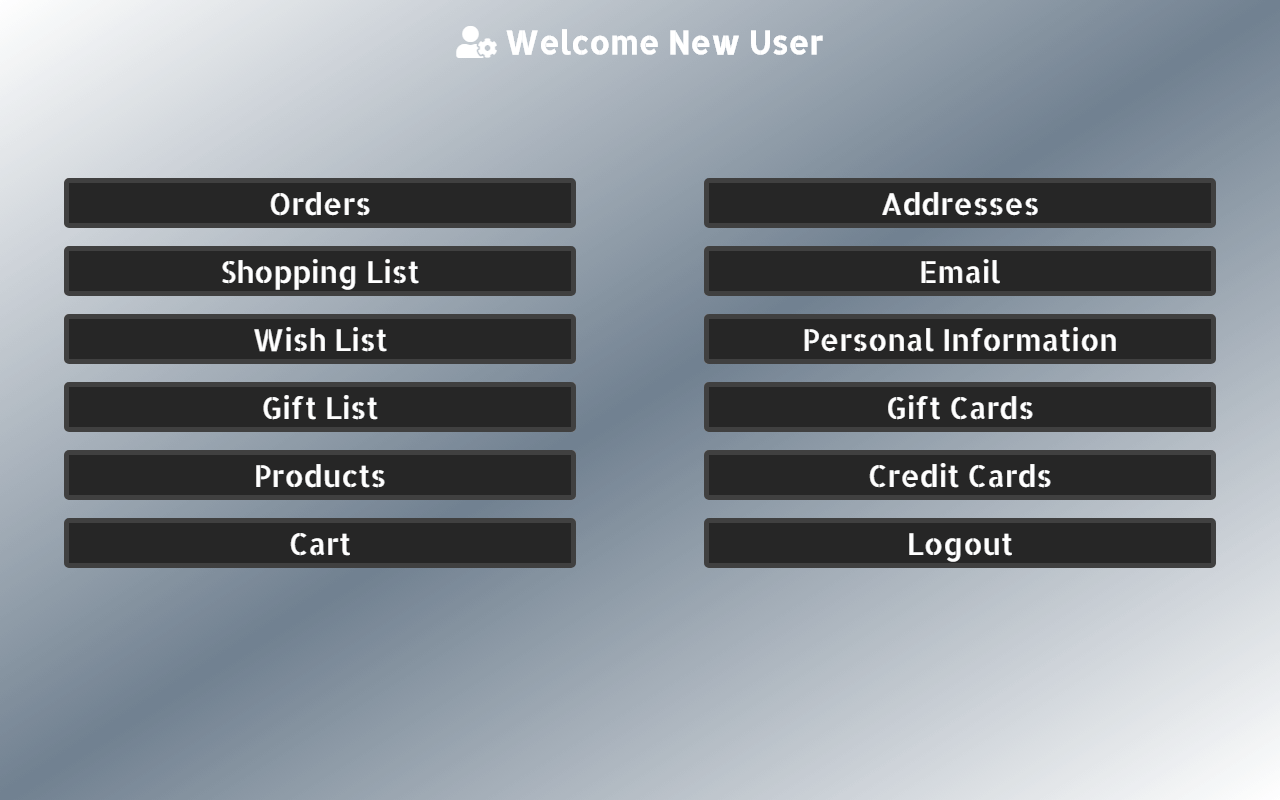
Demonstration
Step 1: Grid Layout
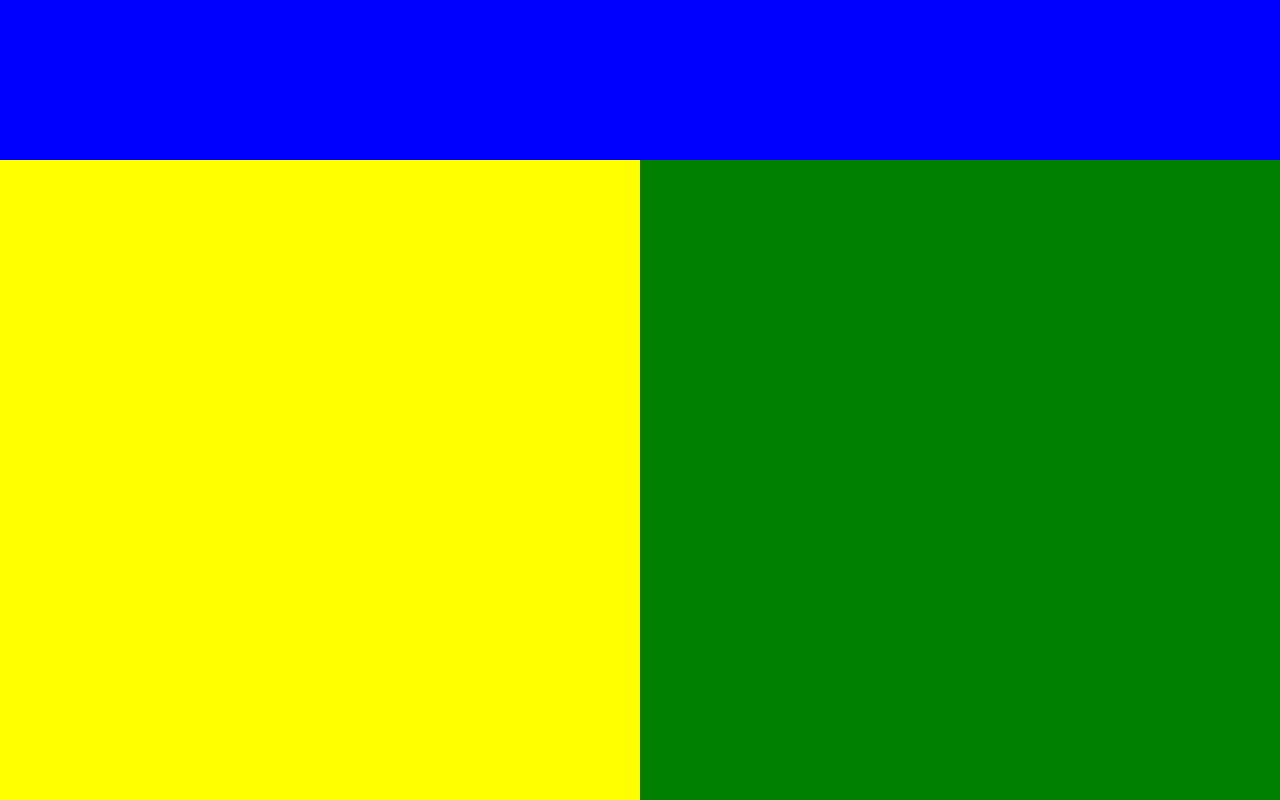
First of all, I recommend you creating a div that contain all customer interface elements to move it just one line of code, named Interface.
Figure - 16.1
Figure - 16.2
Now, you have a template to define its parts to create a grid layout according to the elements you want Interface to contain. In this case, I used two main section to show the customer data, named order and personal. Also, I made a header div to contain the opening message - Welcome New User - named username.
Figure - 16.3
Figure - 16.4
After defining all sections by using position, width and height properties, it is ready to collect the customer information.
Figure - 16.5
Step 2: Fonts
To make the customer interface more stylish, you have to use a unique font design, you can find various font types on Google Fonts.
Figure - 16.6
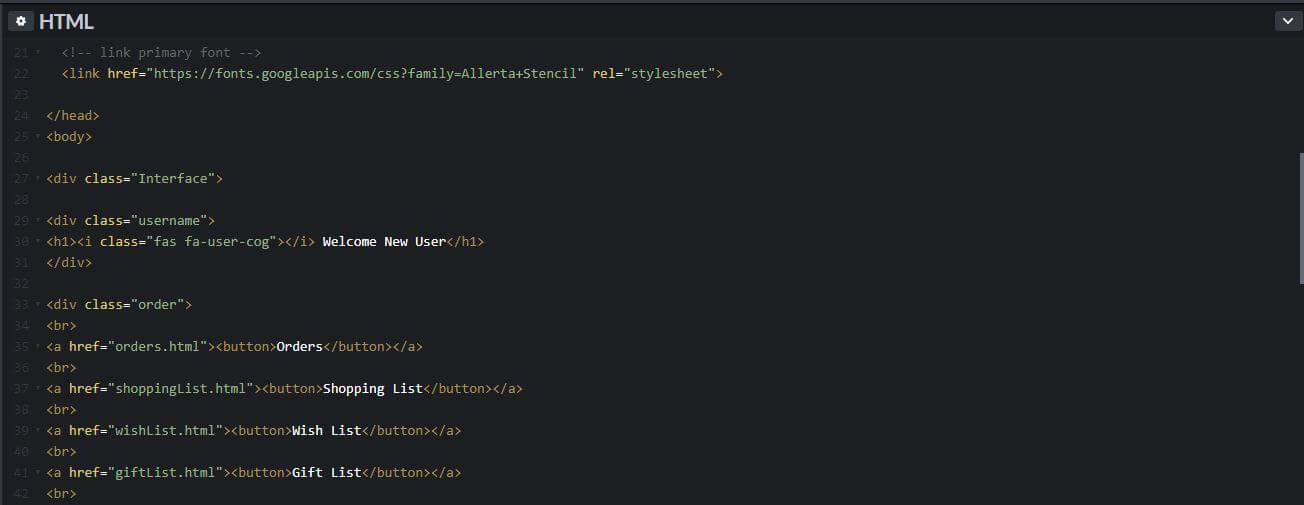
After linking the font style you want to use, in this tutorial Allerta+Stencil, as explained down below.
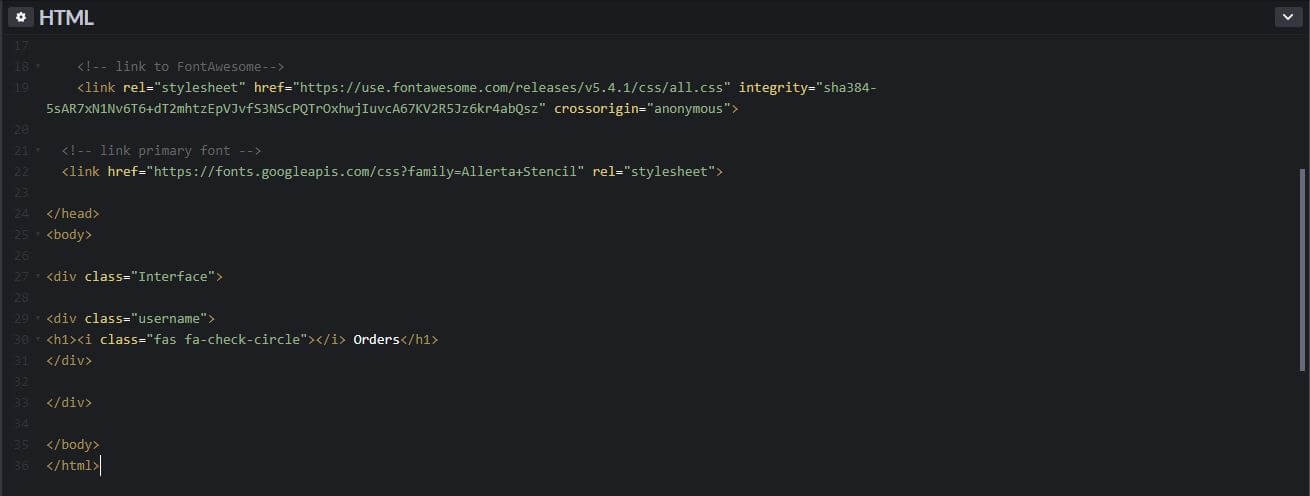
Font Awesome is a website which allow you to implement disparate free icons and logos unless you want to use special ones by subscribing, and it is easy to implement them on any page, just using one line of code.
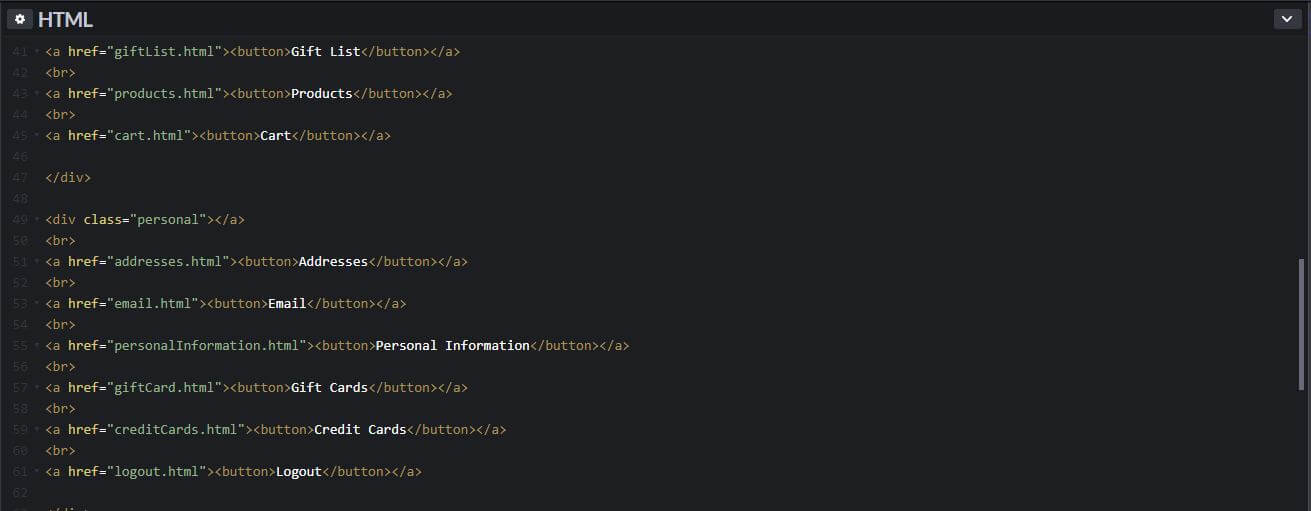
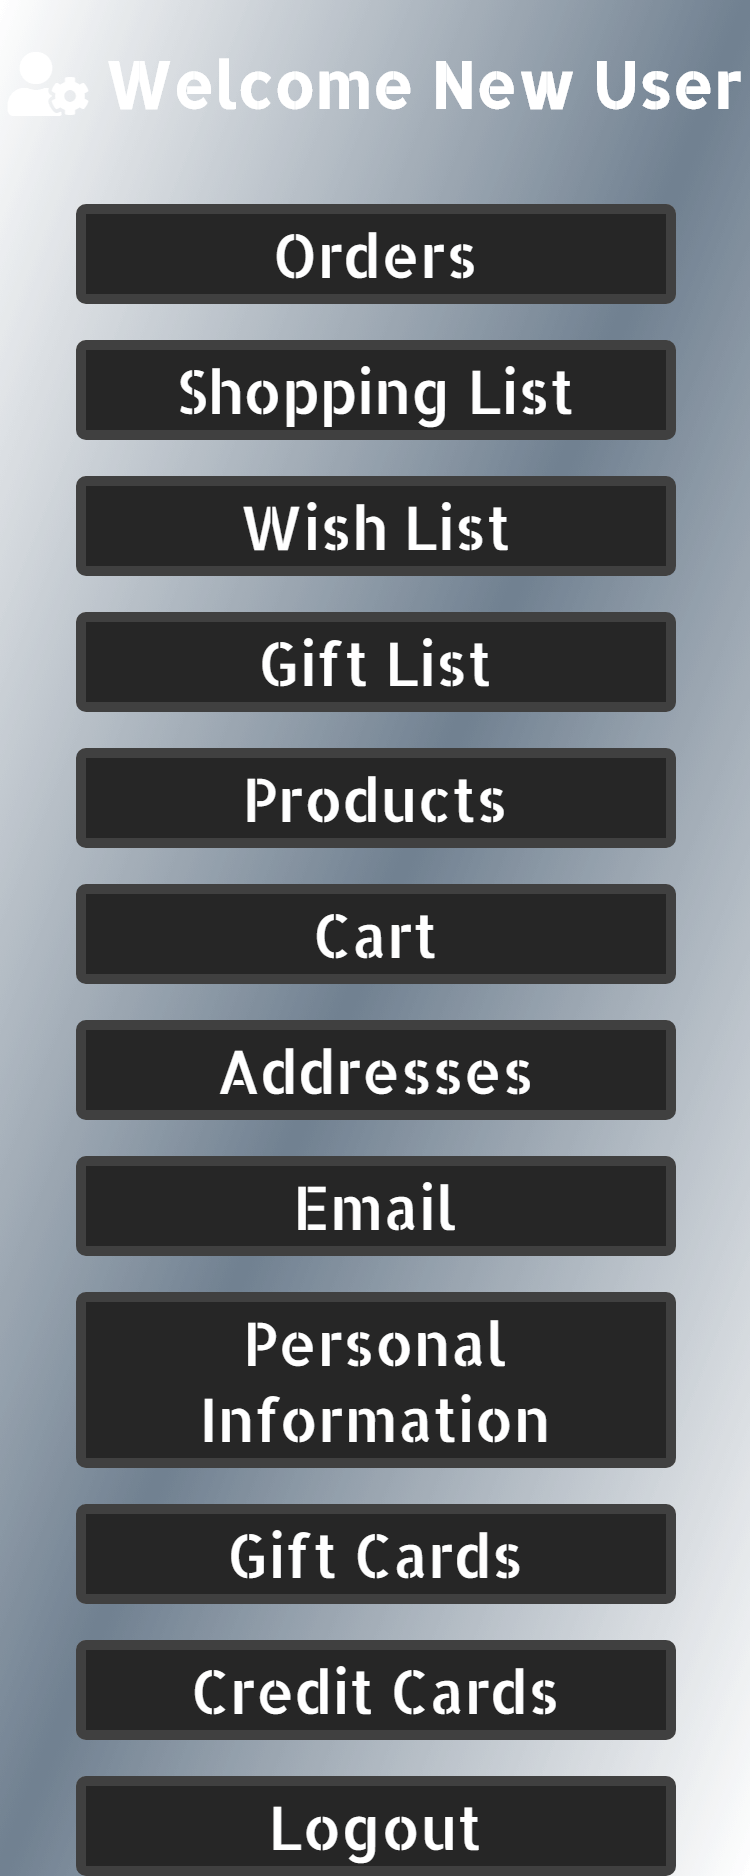
Using a tag and button tag combination is one of the most common ways to create internal links for panels like dashboard and customer interface.
Figure - 16.10
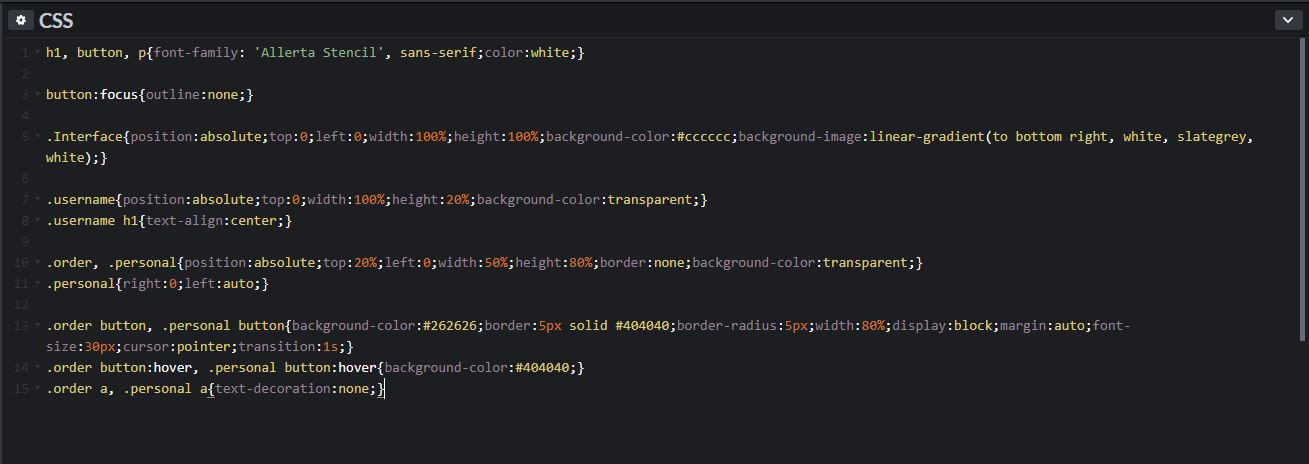
Along with background, height, width, border and border-radius css properties, you can add button:focus{outline:none;} line on css file as I did to remove blue button border after clicking.
Figure - 16.11
Figure - 16.12
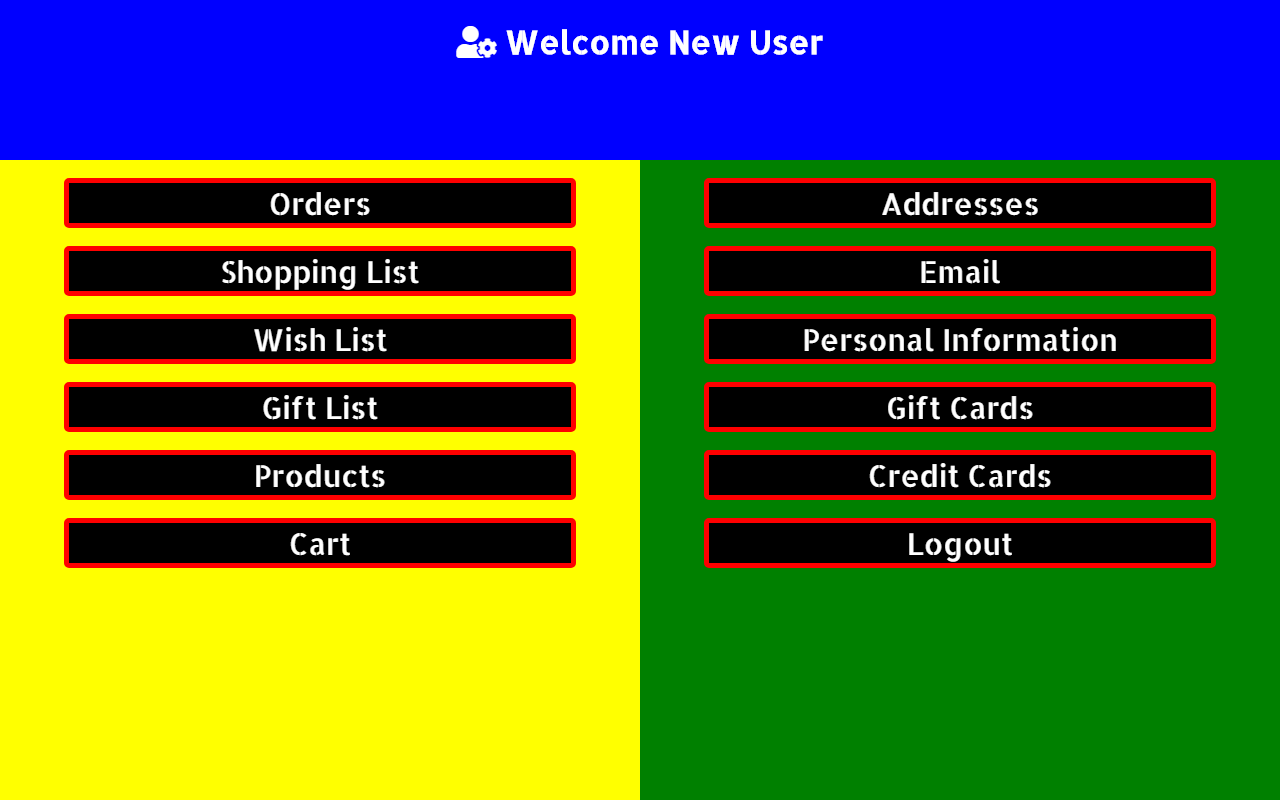
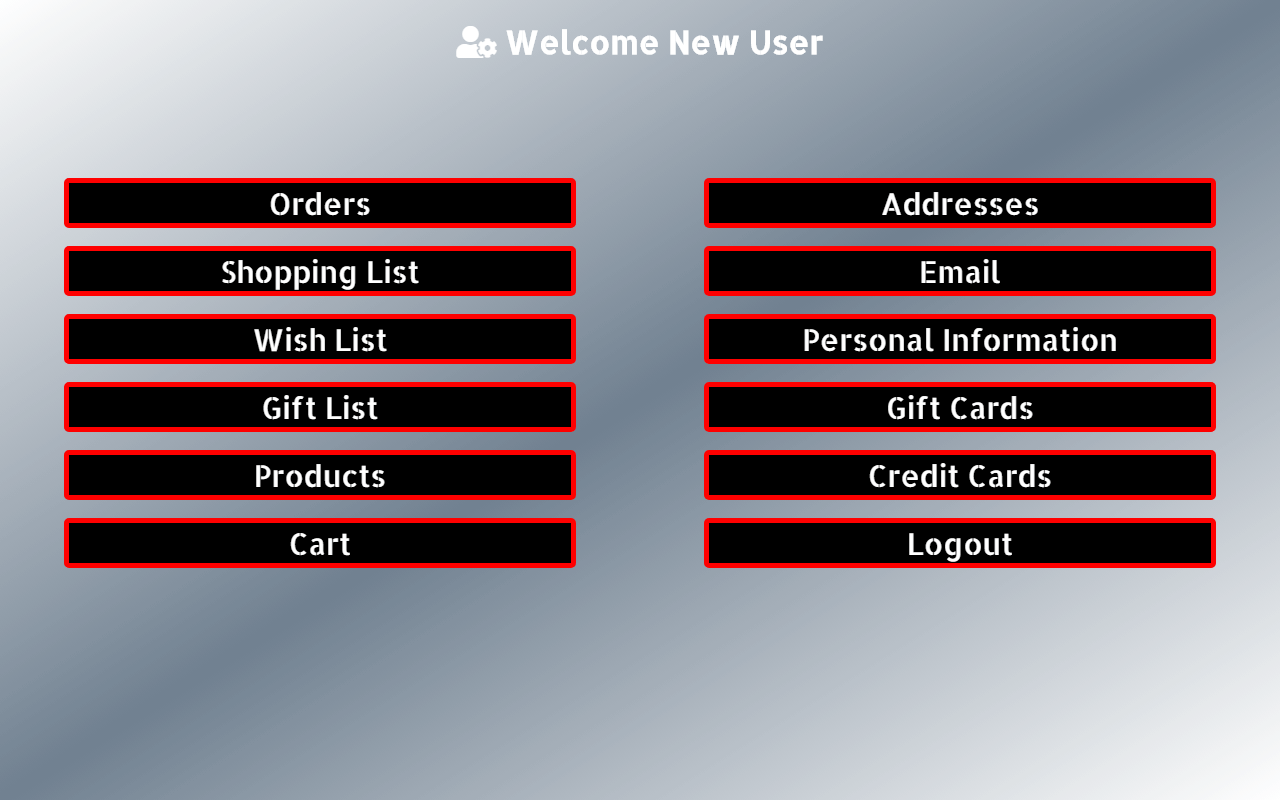
And, I recommend you to use css :hover selector to make a color effect astonishingly.
Figure - 16.13
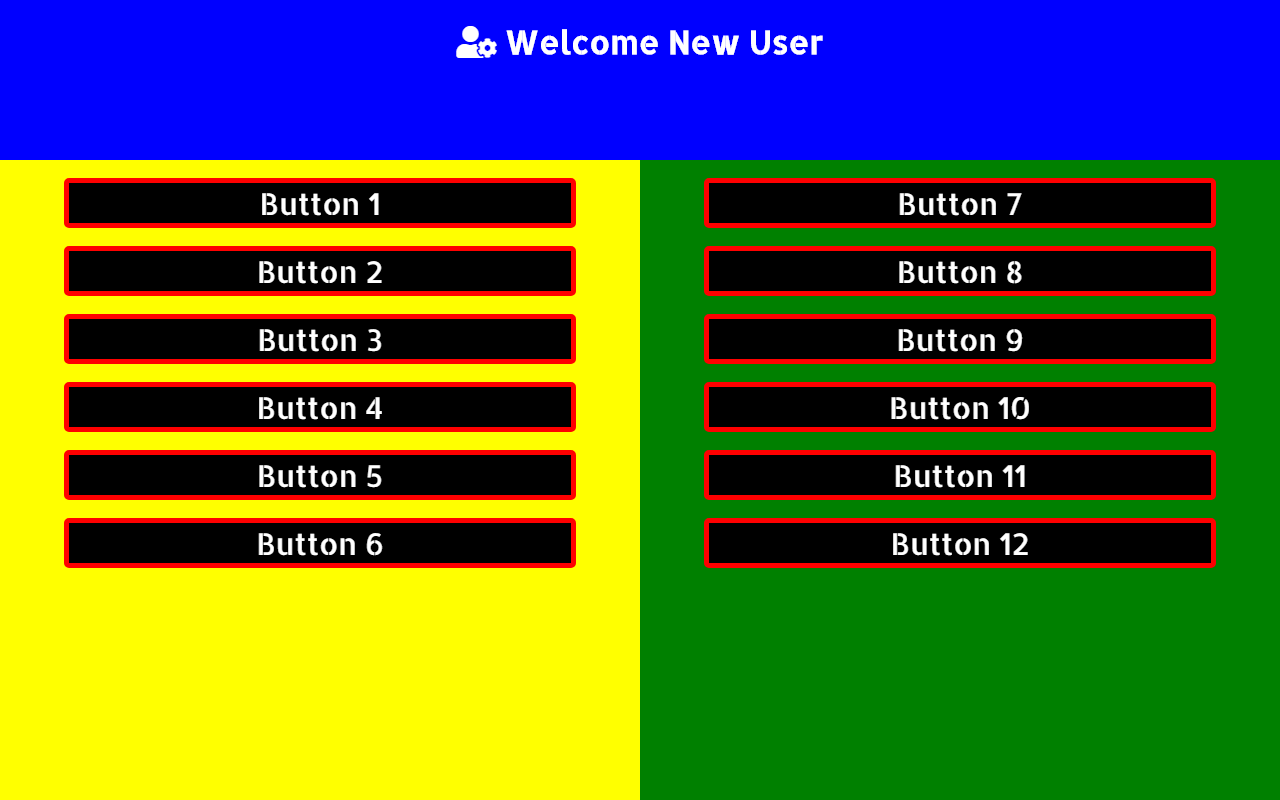
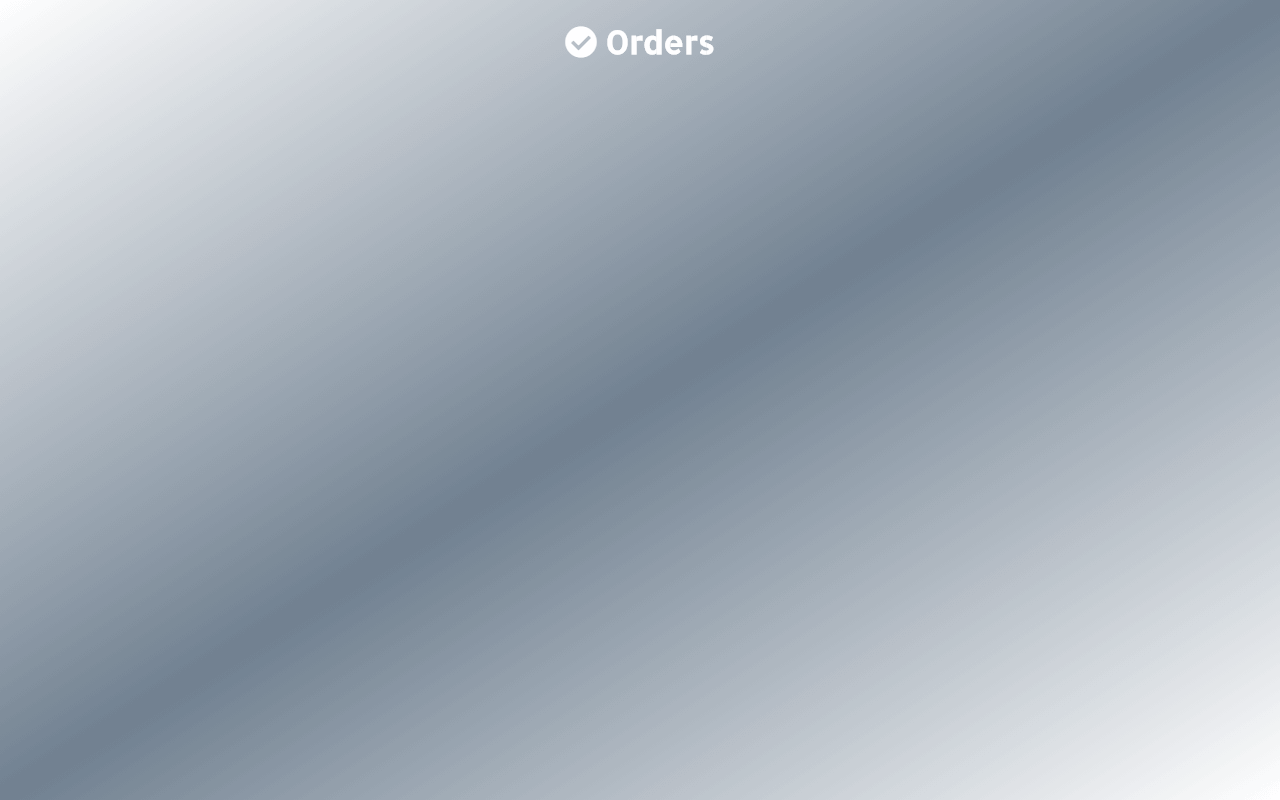
Step 5: Linear Gradient and Element Styling
In order to make a color shift as background, you have to css background-image property and it is very simple to define direction and colors as explained down below.
In this tutorial, I used from bottom to right white slategrey color shift and #262626 as button primary color, you can inspect other colors I implemented at customerInterface.css down below.
In order to improve the user experience, you have to create other html pages related to the customer interface, containing personal data and order information. It is not a subject of this tutorial but you might have to use server side languages to save and recall user information from the database like MySQL. You can find more information about server side languages here.
Figure - 16.18
After integrating pages, you can create them at the location you choose as html files(or php).
Figure - 16.19
In this tutorial, I integrated customerInterface.css file as stylesheet of the other pages I navigate but you can create different design patterns for each as practice.
Figure - 16.20
Figure - 16.21
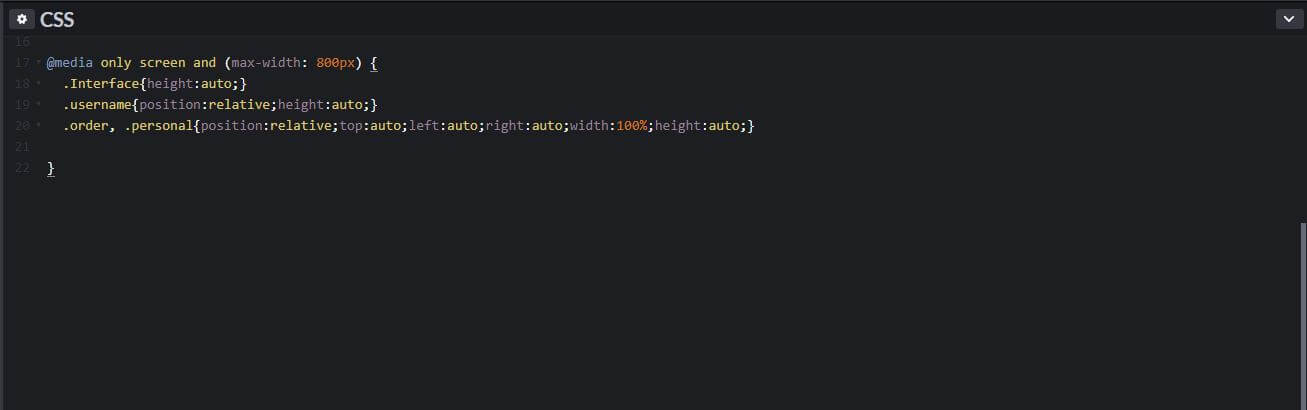
Step 7: Mobile Version
It is essential to create a mobile version for the customer interface even though it is just a tutorial for designing a web customer interface as a beginner because you will probably have 60% of your customers from mobile devices according to Google Search Console.
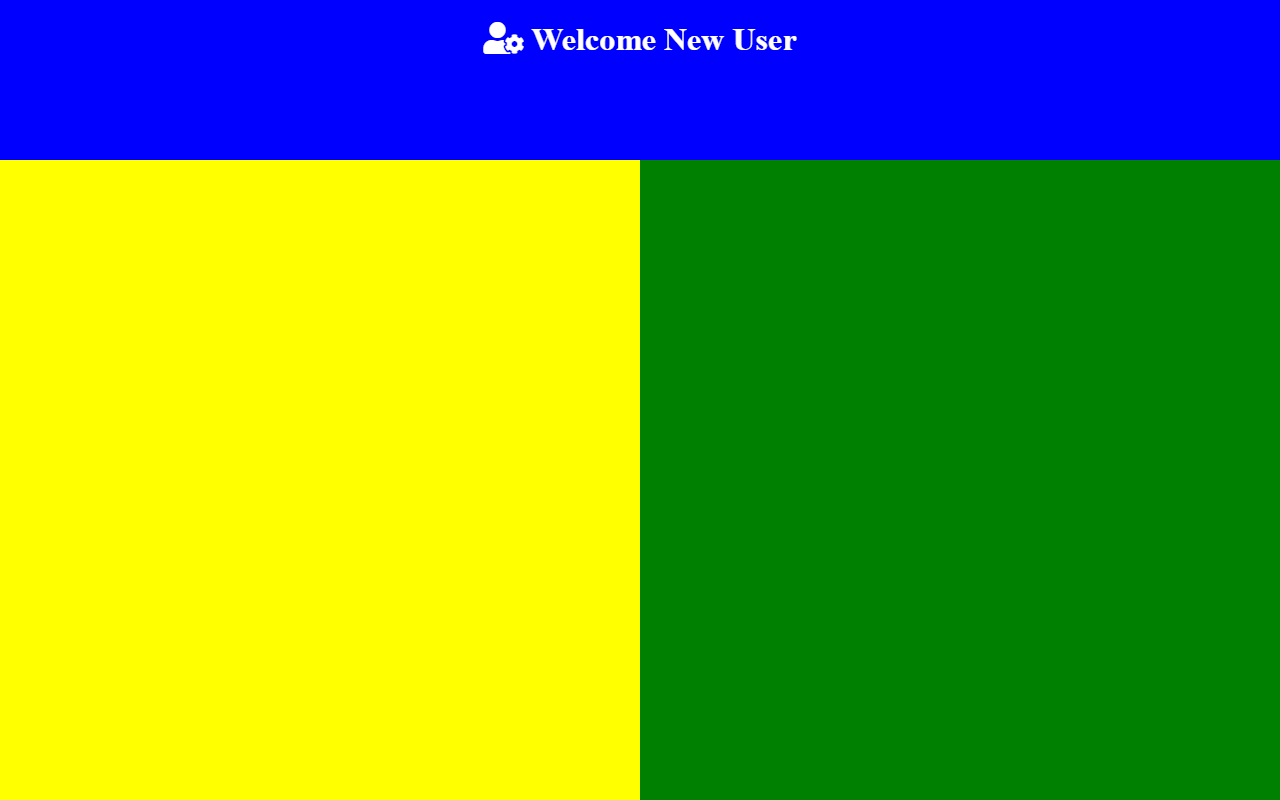
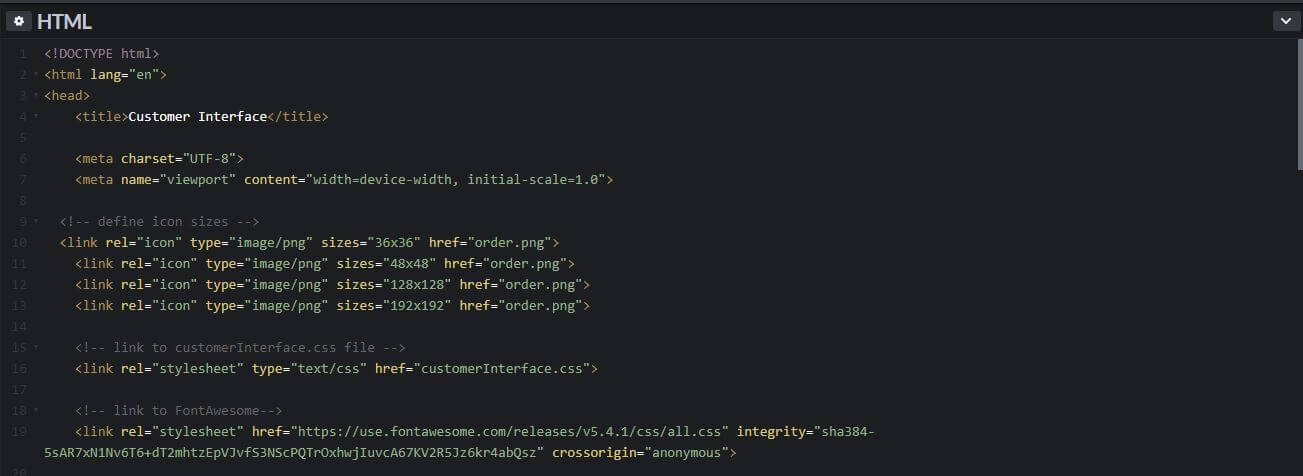
In order to define viewport scale, use this line with meta tag.