Advertisement:
Read Later
In this tutorial, I will show you how to detect people without a mask by using the object classification mode provided by the HuskyLens with Raspberry Pi.
HuskyLens includes build-in algorithms supporting six functions - face recognition, object tracking, object recognition, line tracking, color recognition, and tag recognition - controlled with an easy-to-use interface.

However, we need to activate the object classification mode to detect face masks since the other embedded functions are not capable of face mask detection. The object classification function of HuskyLens can learn from multiple photos of different objects by built-in machine learning algorithms. After completing the object classification learning, when HuskyLens detects the learned object, it can recognize and display the object ID number. Well, the more it learns, the more accurate the recognition can be.
You can get more information about HuskyLens features and functions here.
We need to upgrade the firmware version to be able to use the object classification function. Follow the instructions below to upgrade the HuskyLens firmware:
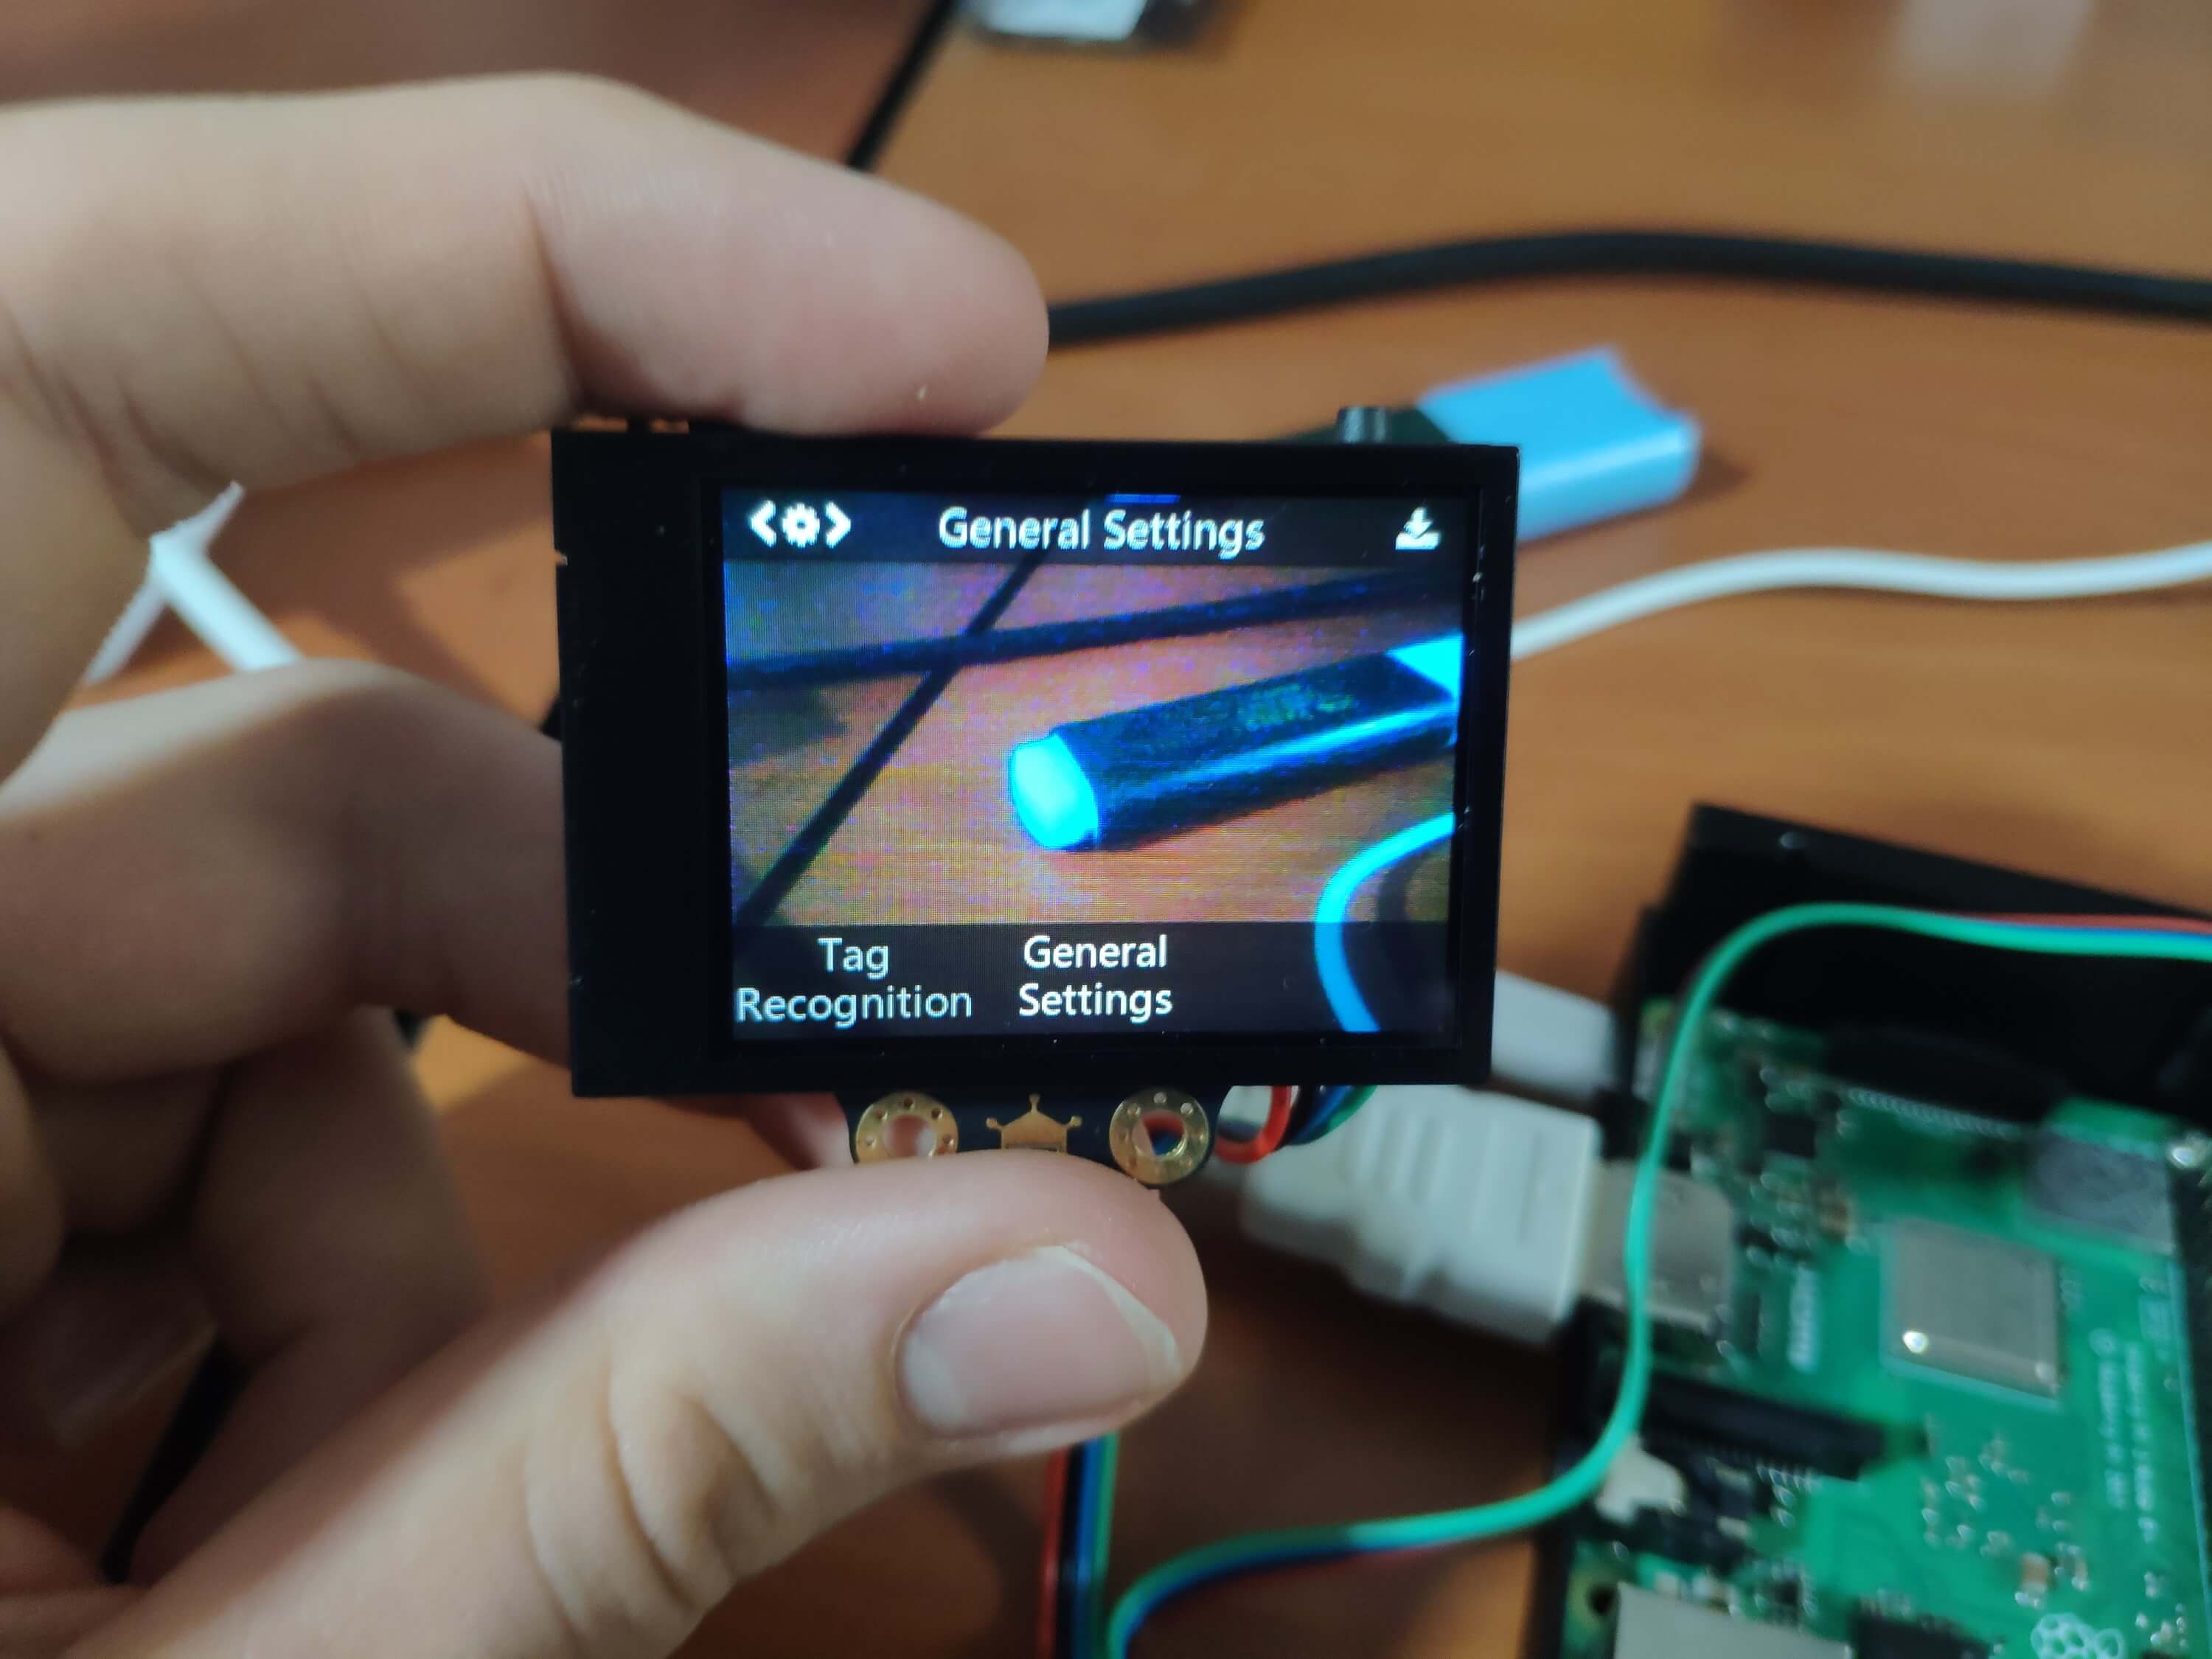
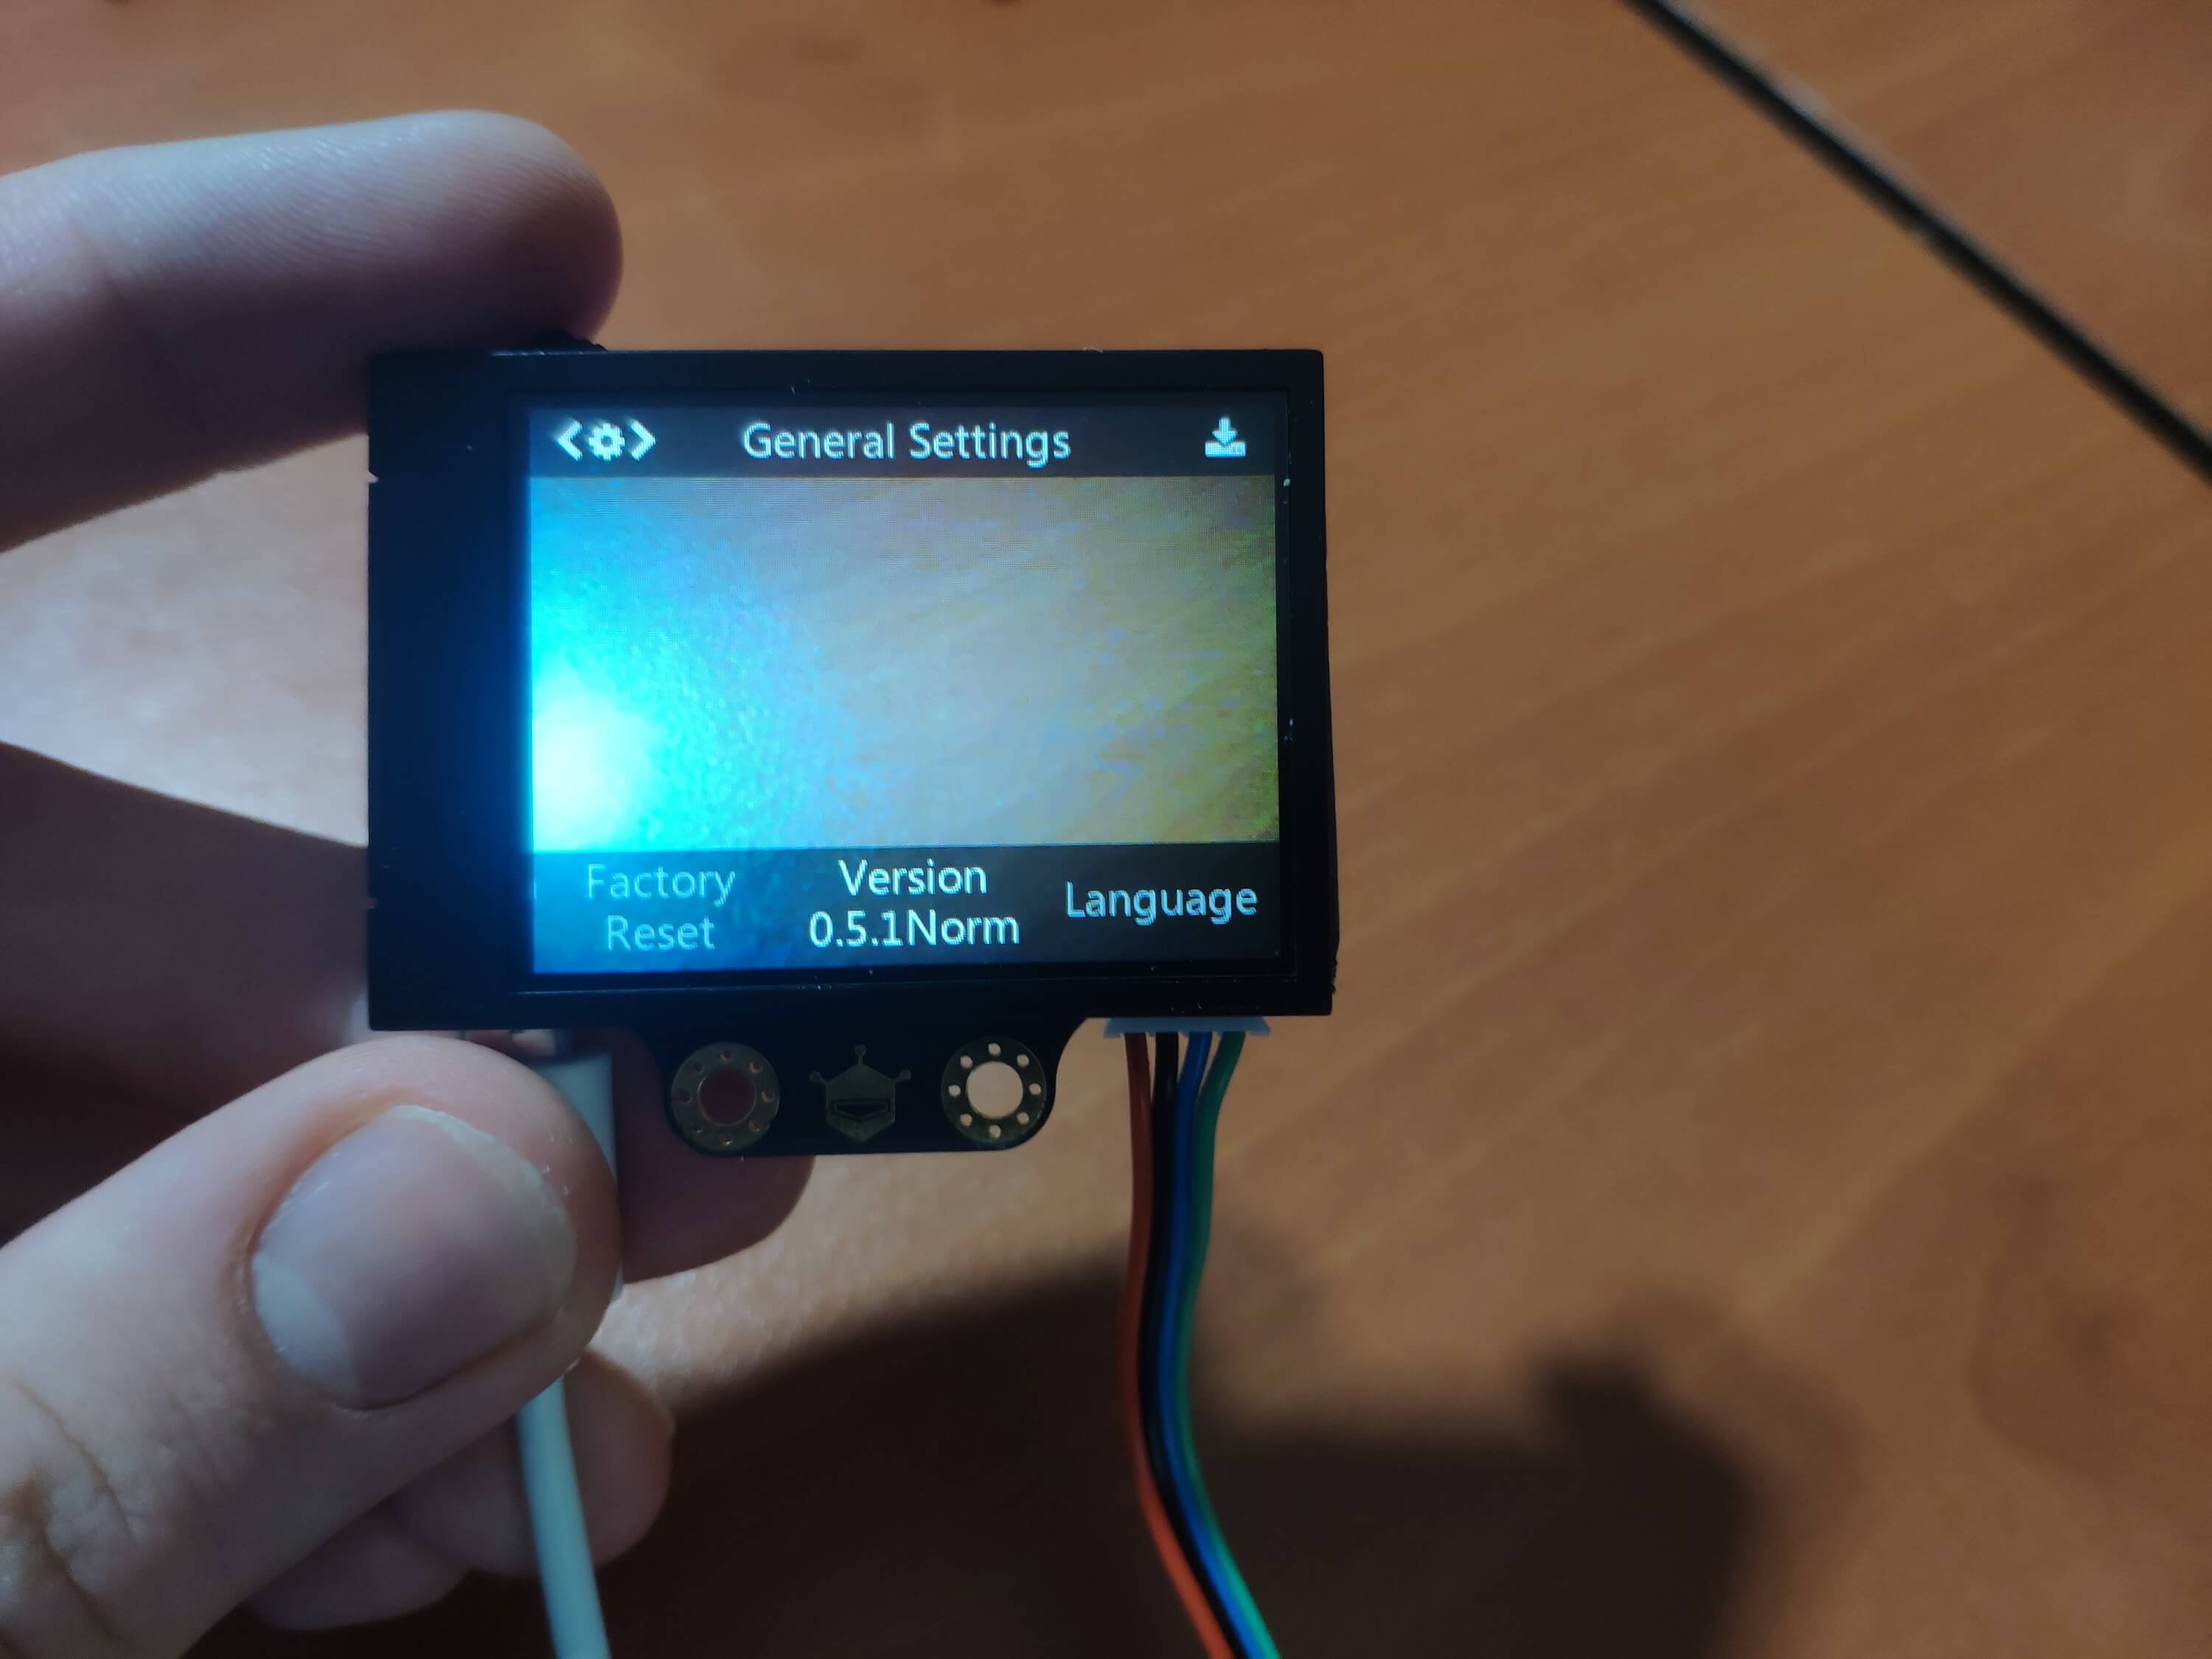
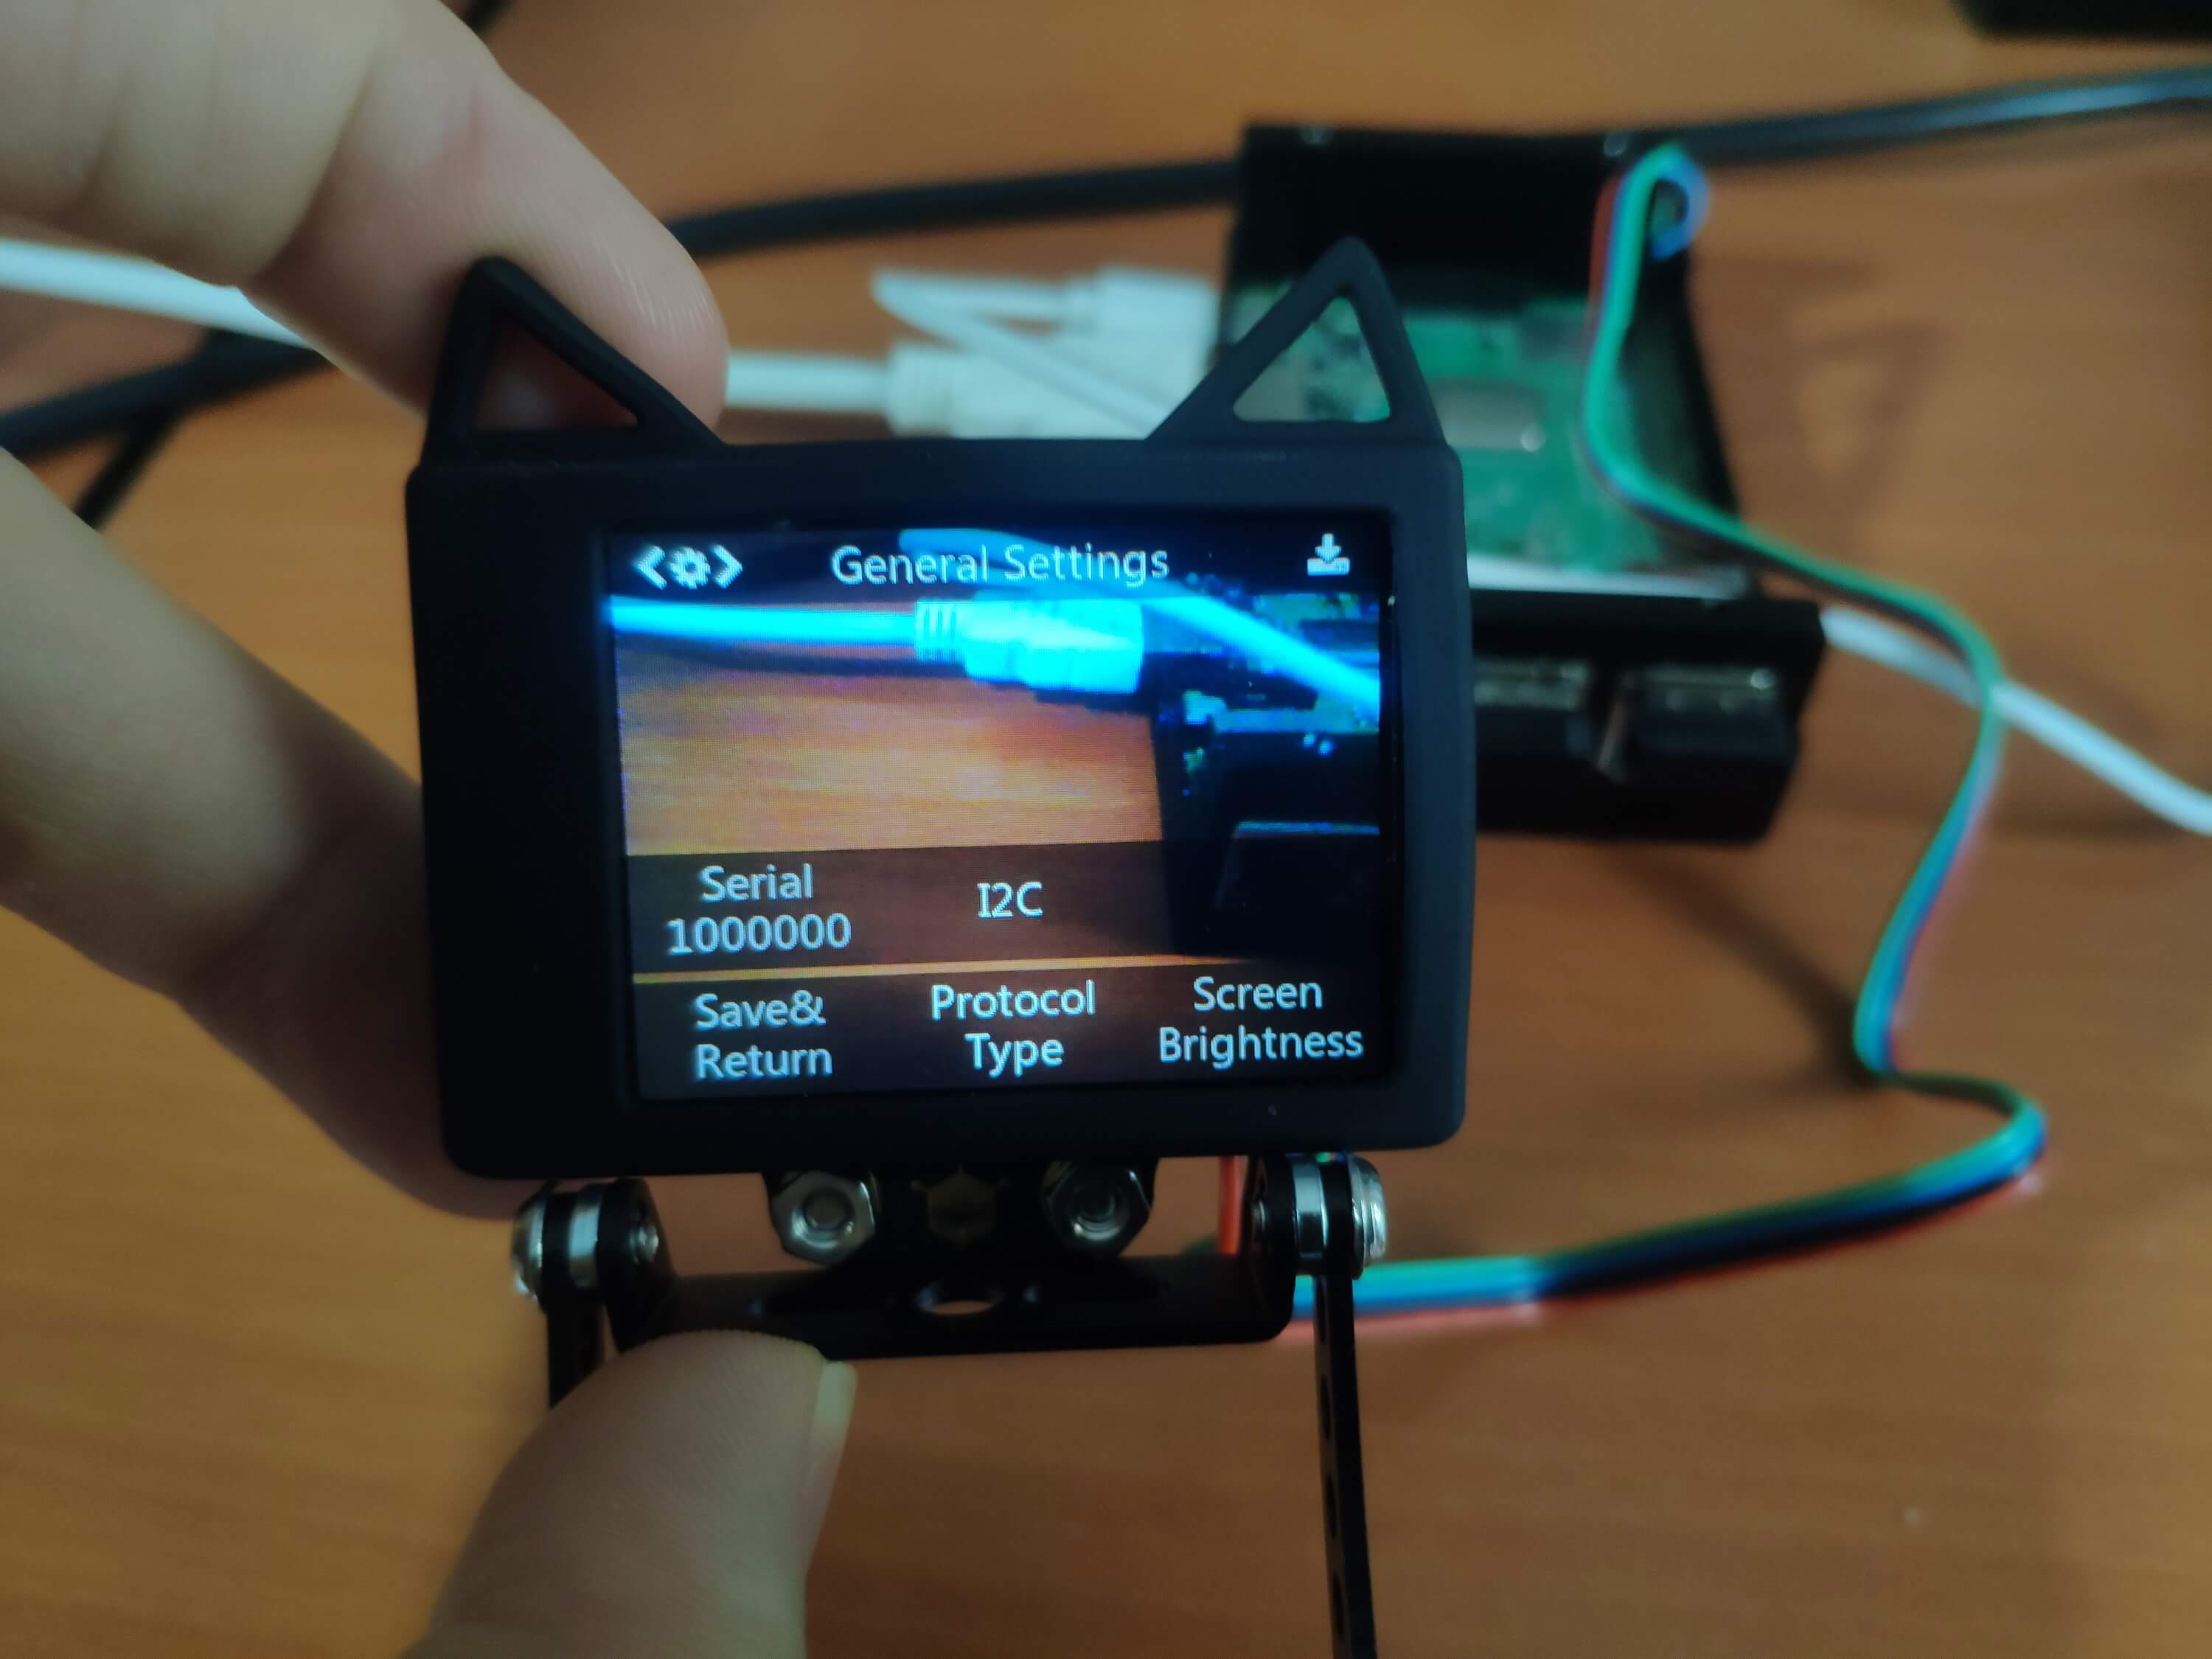
⭐ Click the General Settings to view the version number.
⭐ Download the HuskyLens Uploader for Windows here. If requested, you may need to install the CP2102N chip driver here.
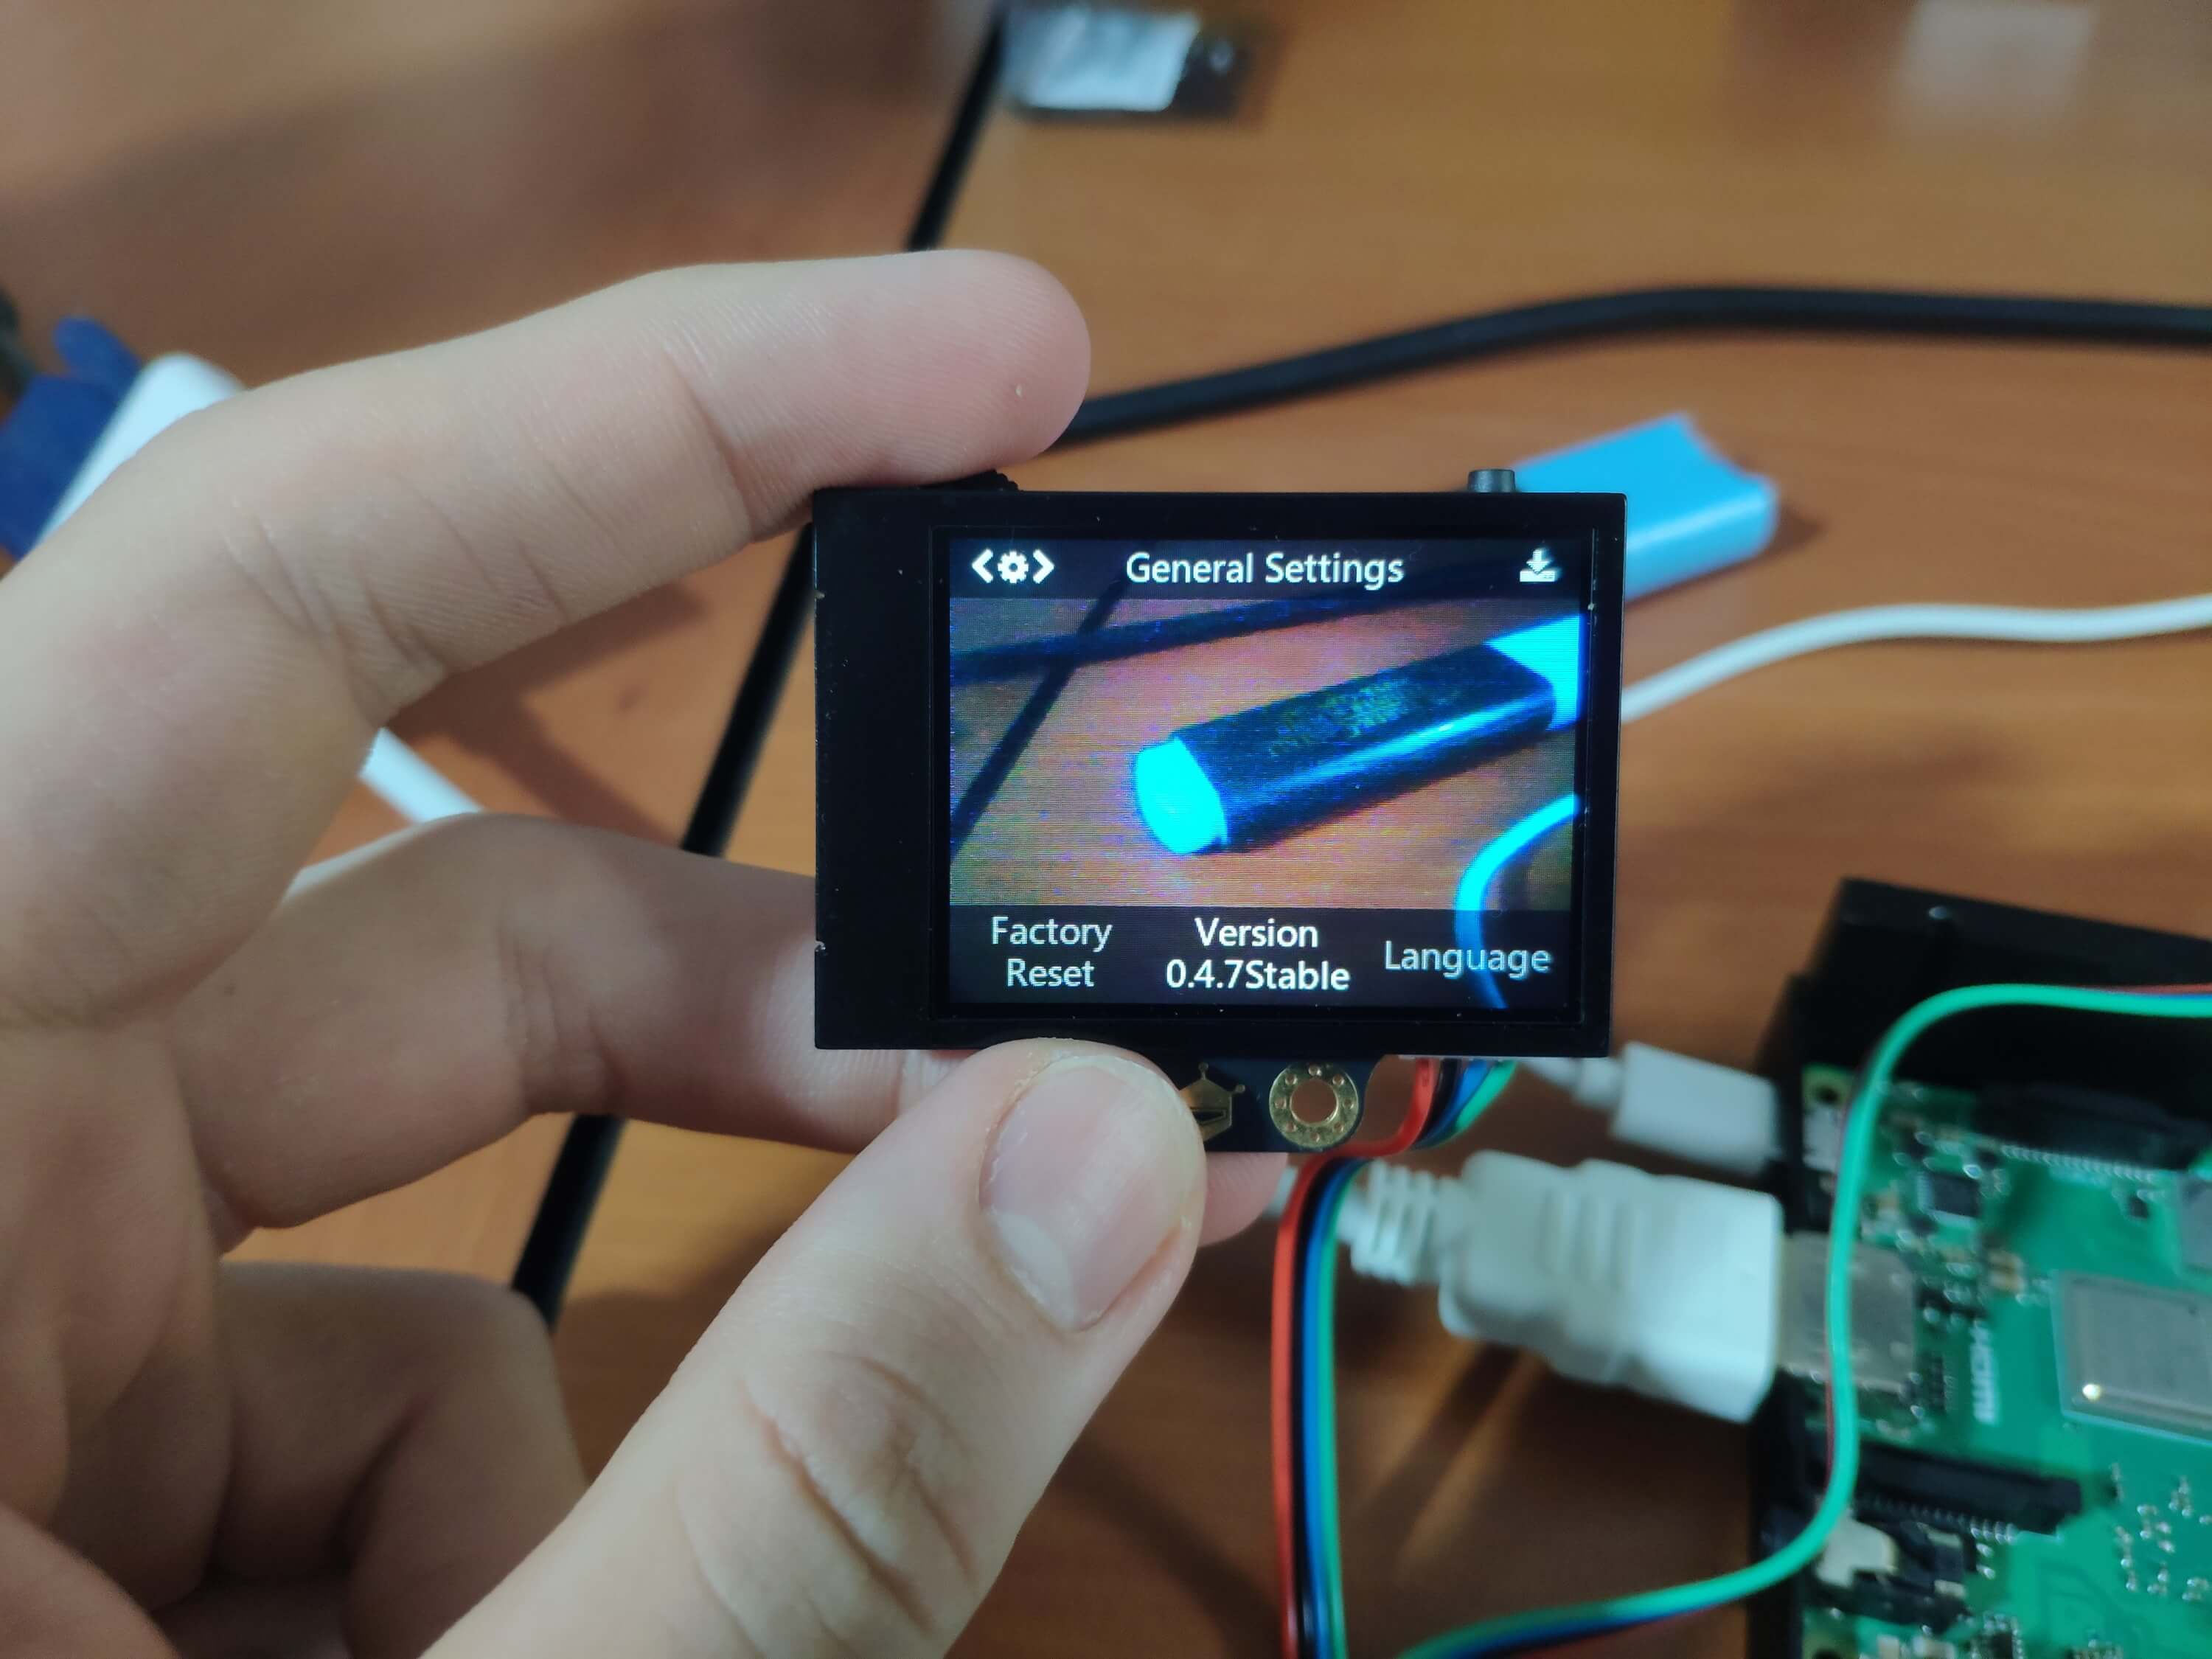
⭐ Download the latest firmware (V0.5.1Norm) file here.
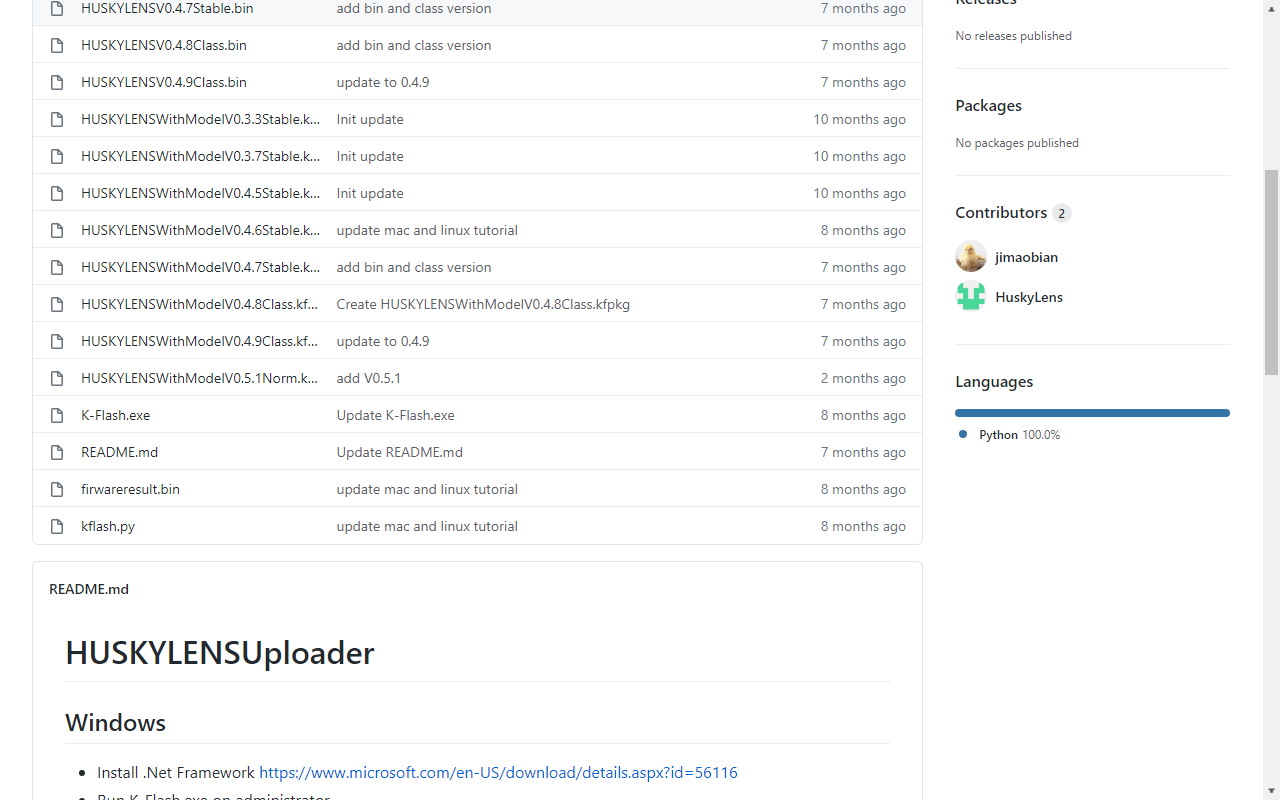
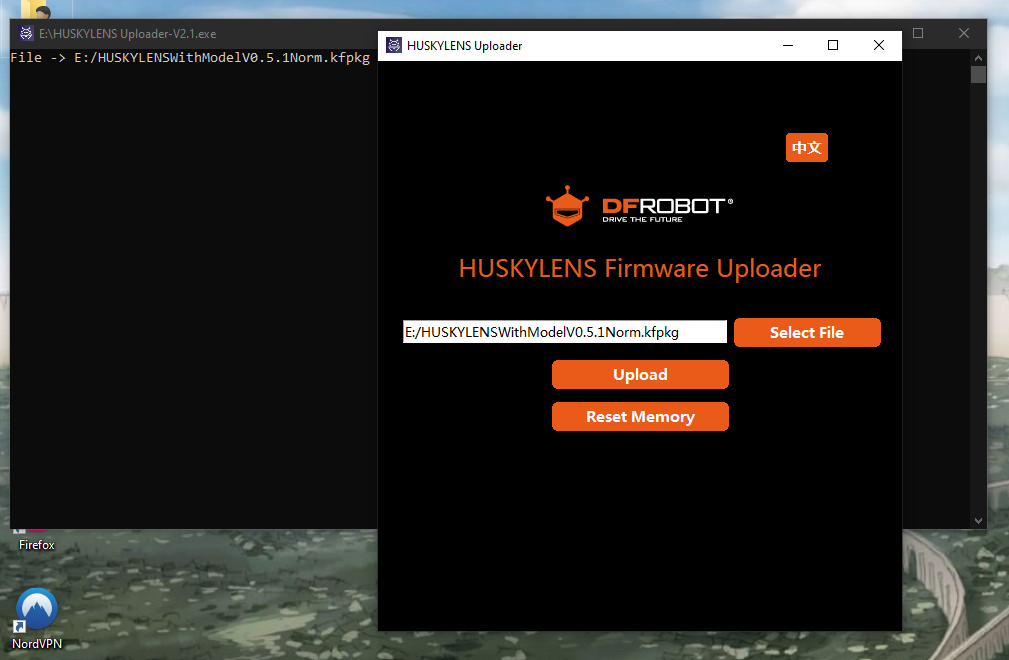
⭐ Run the HuskyLens Uploader, a small black cmd window will pop up first, and after a while, the interface window will appear, then click the Select File button to load the firmware file.
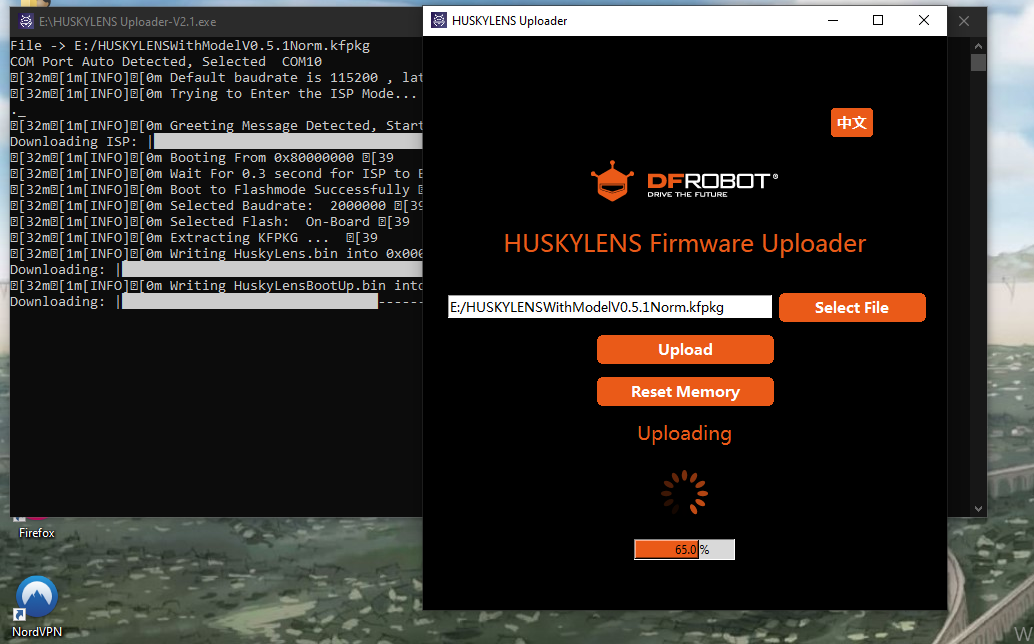
⭐ Click the Upload button. Wait about 5 minutes to complete the uploading.
Then, you should see the upgraded version number on the settings menu.
After upgrading the firmware version, we need to train the object classification algorithms to learn people with and without masks as different classes. To train and test HuskyLens algorithms, you can use the pictures in this dataset provided by Prajna Bhandary.
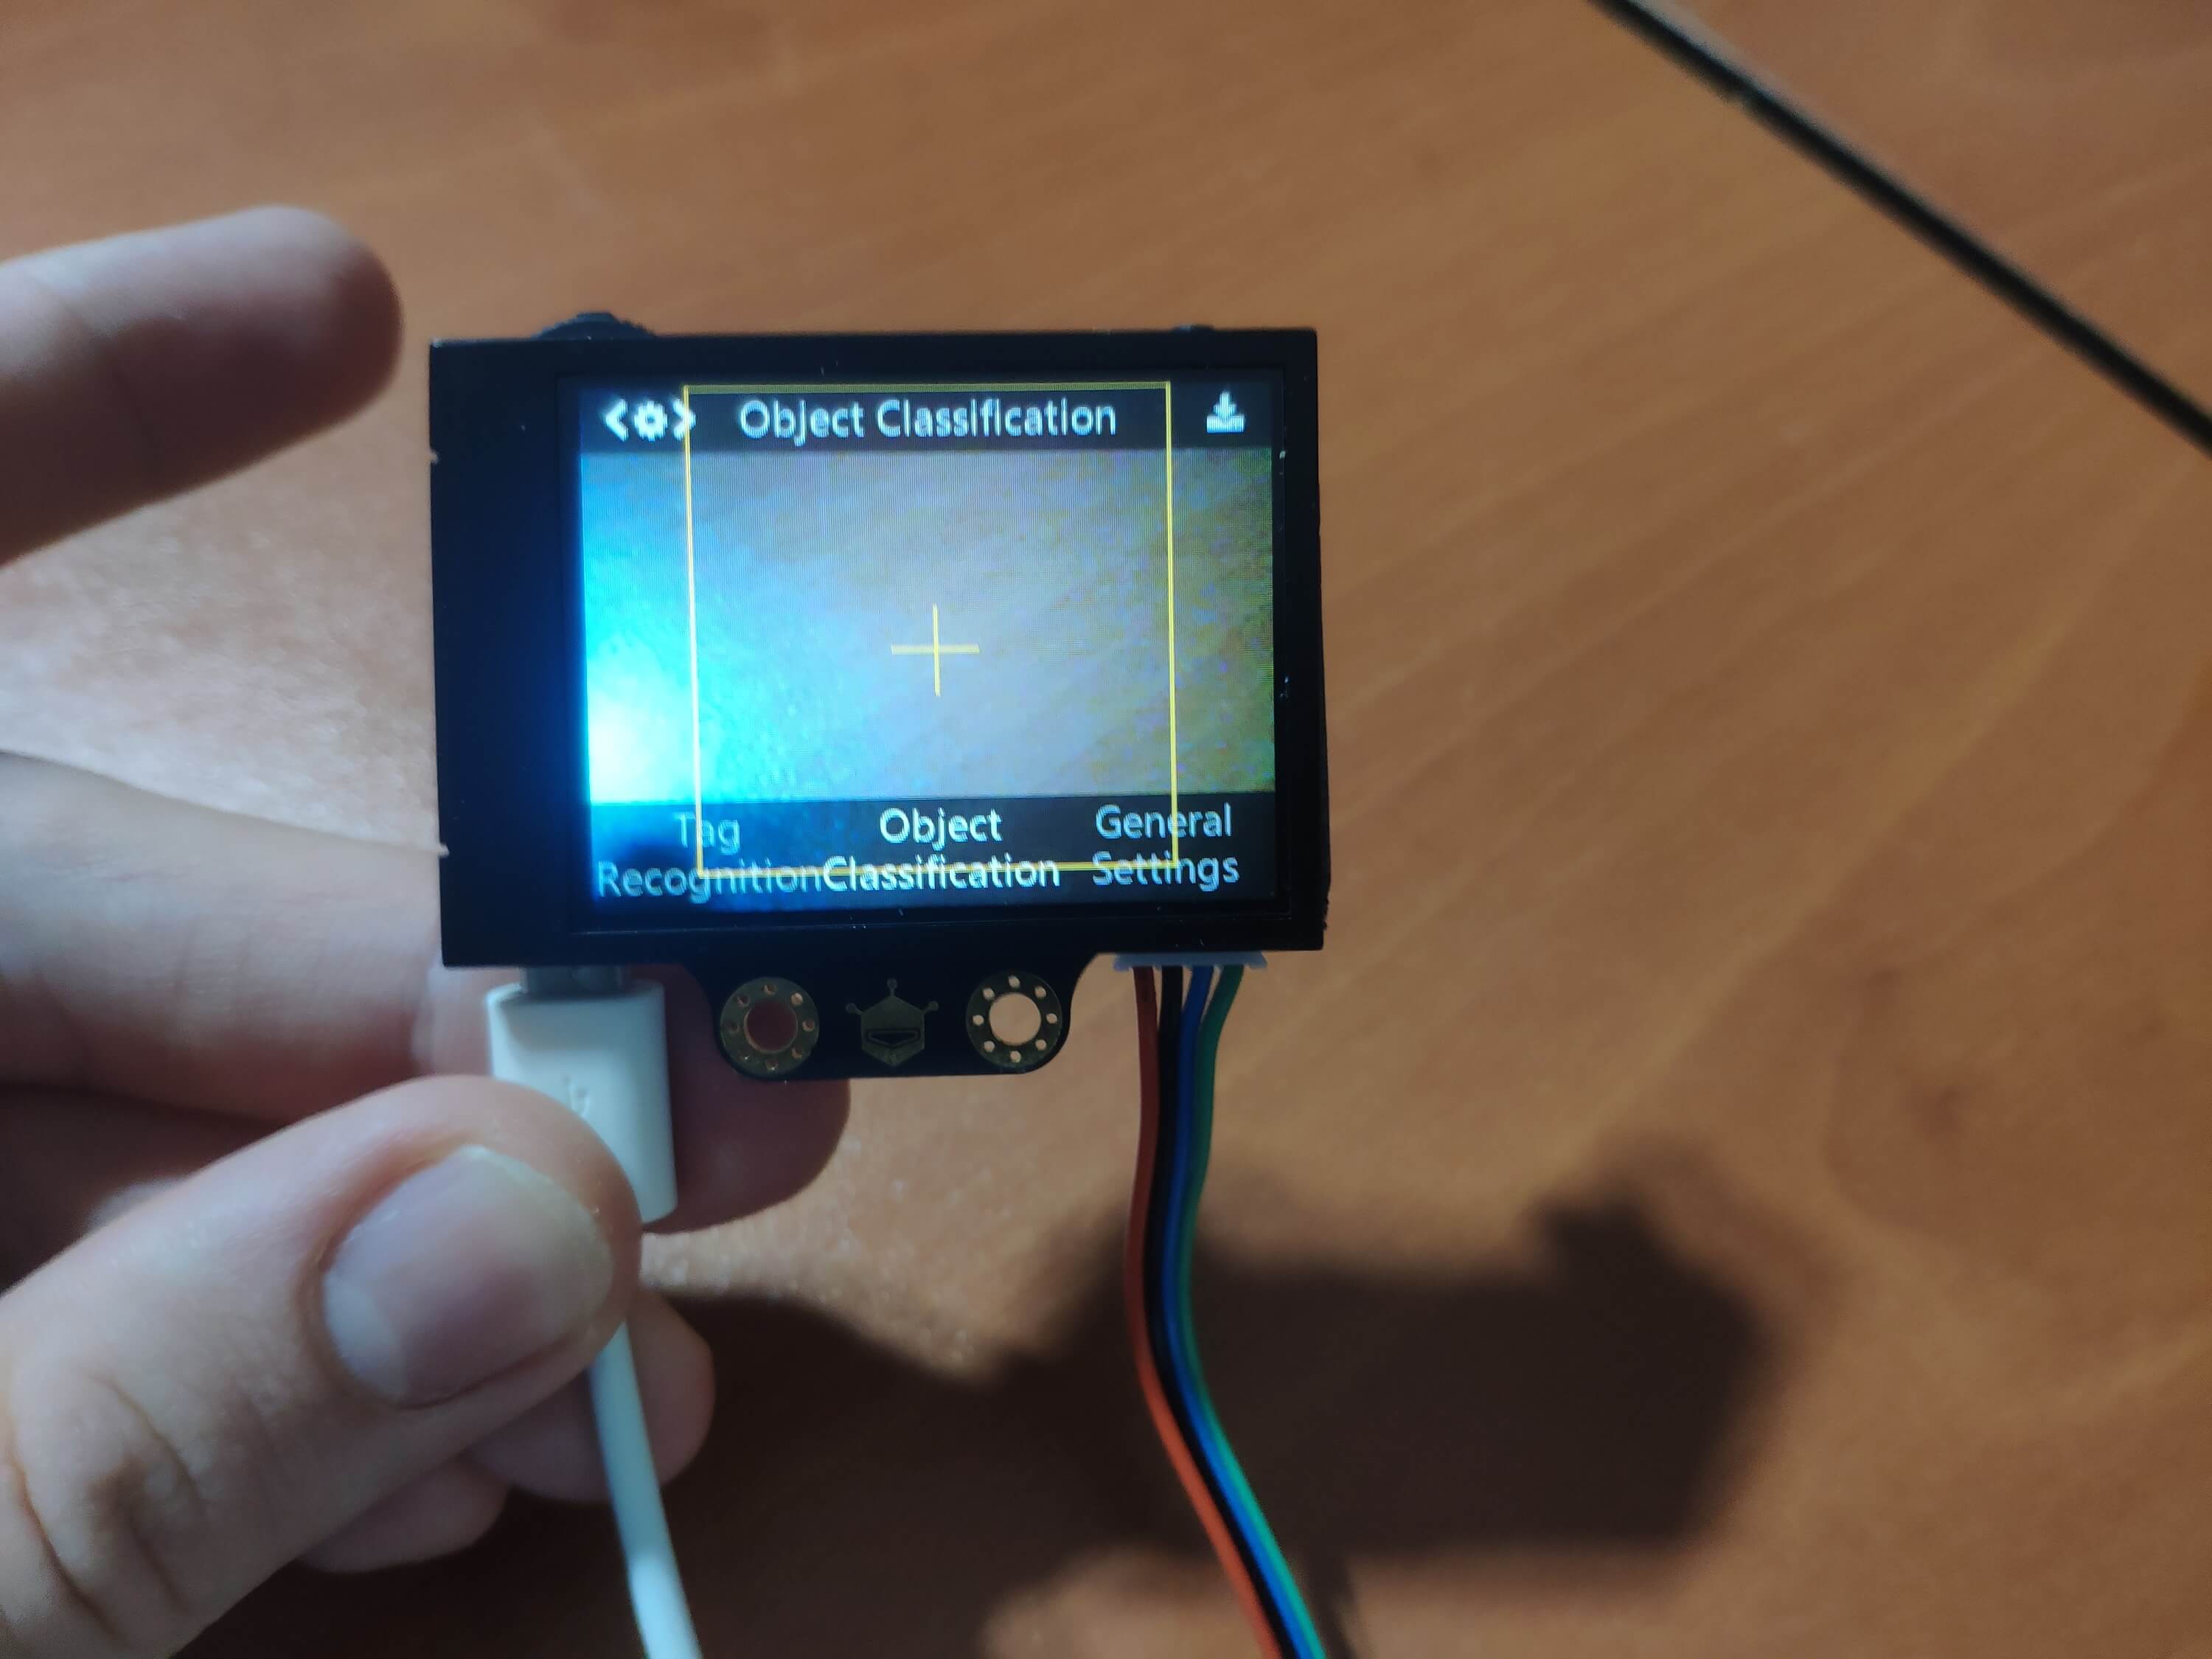
⭐ Switch to the object classification mode to run embedded algorithms.
⭐ Then, select the pictures with which you want to train HuskyLens - one pair (masked and unmasked) is enough.
⭐ Press the learning button for HuskyLens to learn images without a mask. With a long press, HuskyLens can learn images from different angles. According to its instructions, pictures of more than 30 are necessary for each image (class). But, I highly recommend you to take between 250 and 300 pictures for each image (class) - masked and unmasked.
⭐ Next, follow the same steps for HuskyLens to learn images with a mask. Also, for better results, I suggest you include a default class by scanning a blank image.


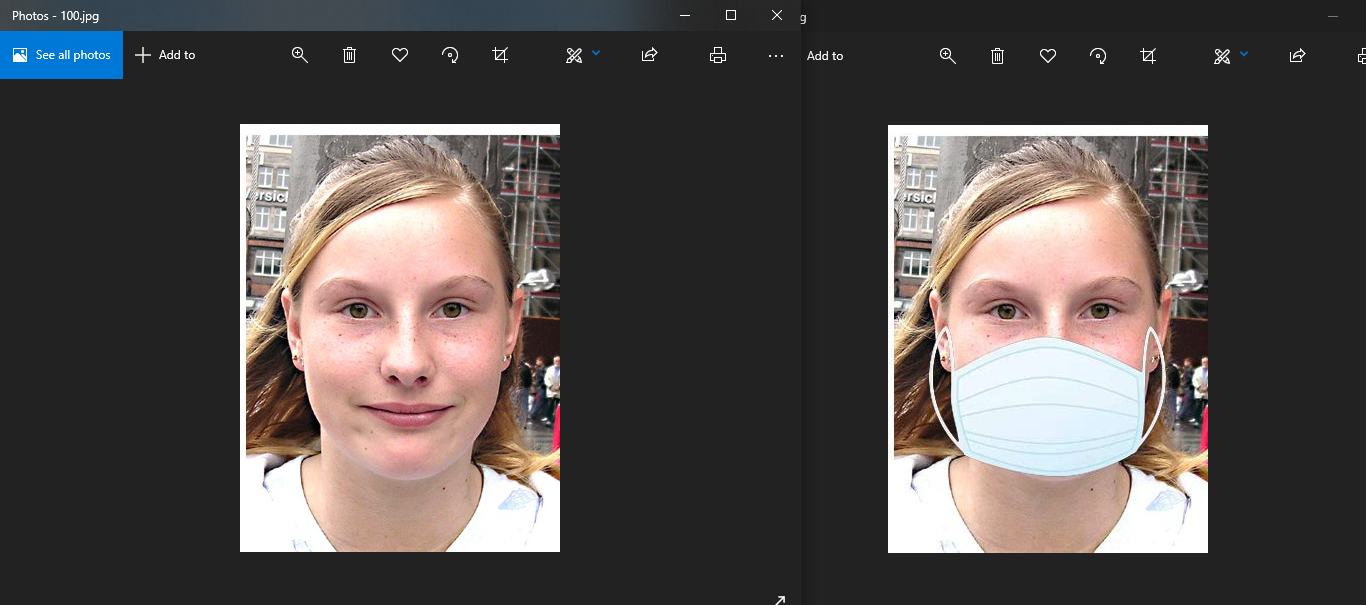
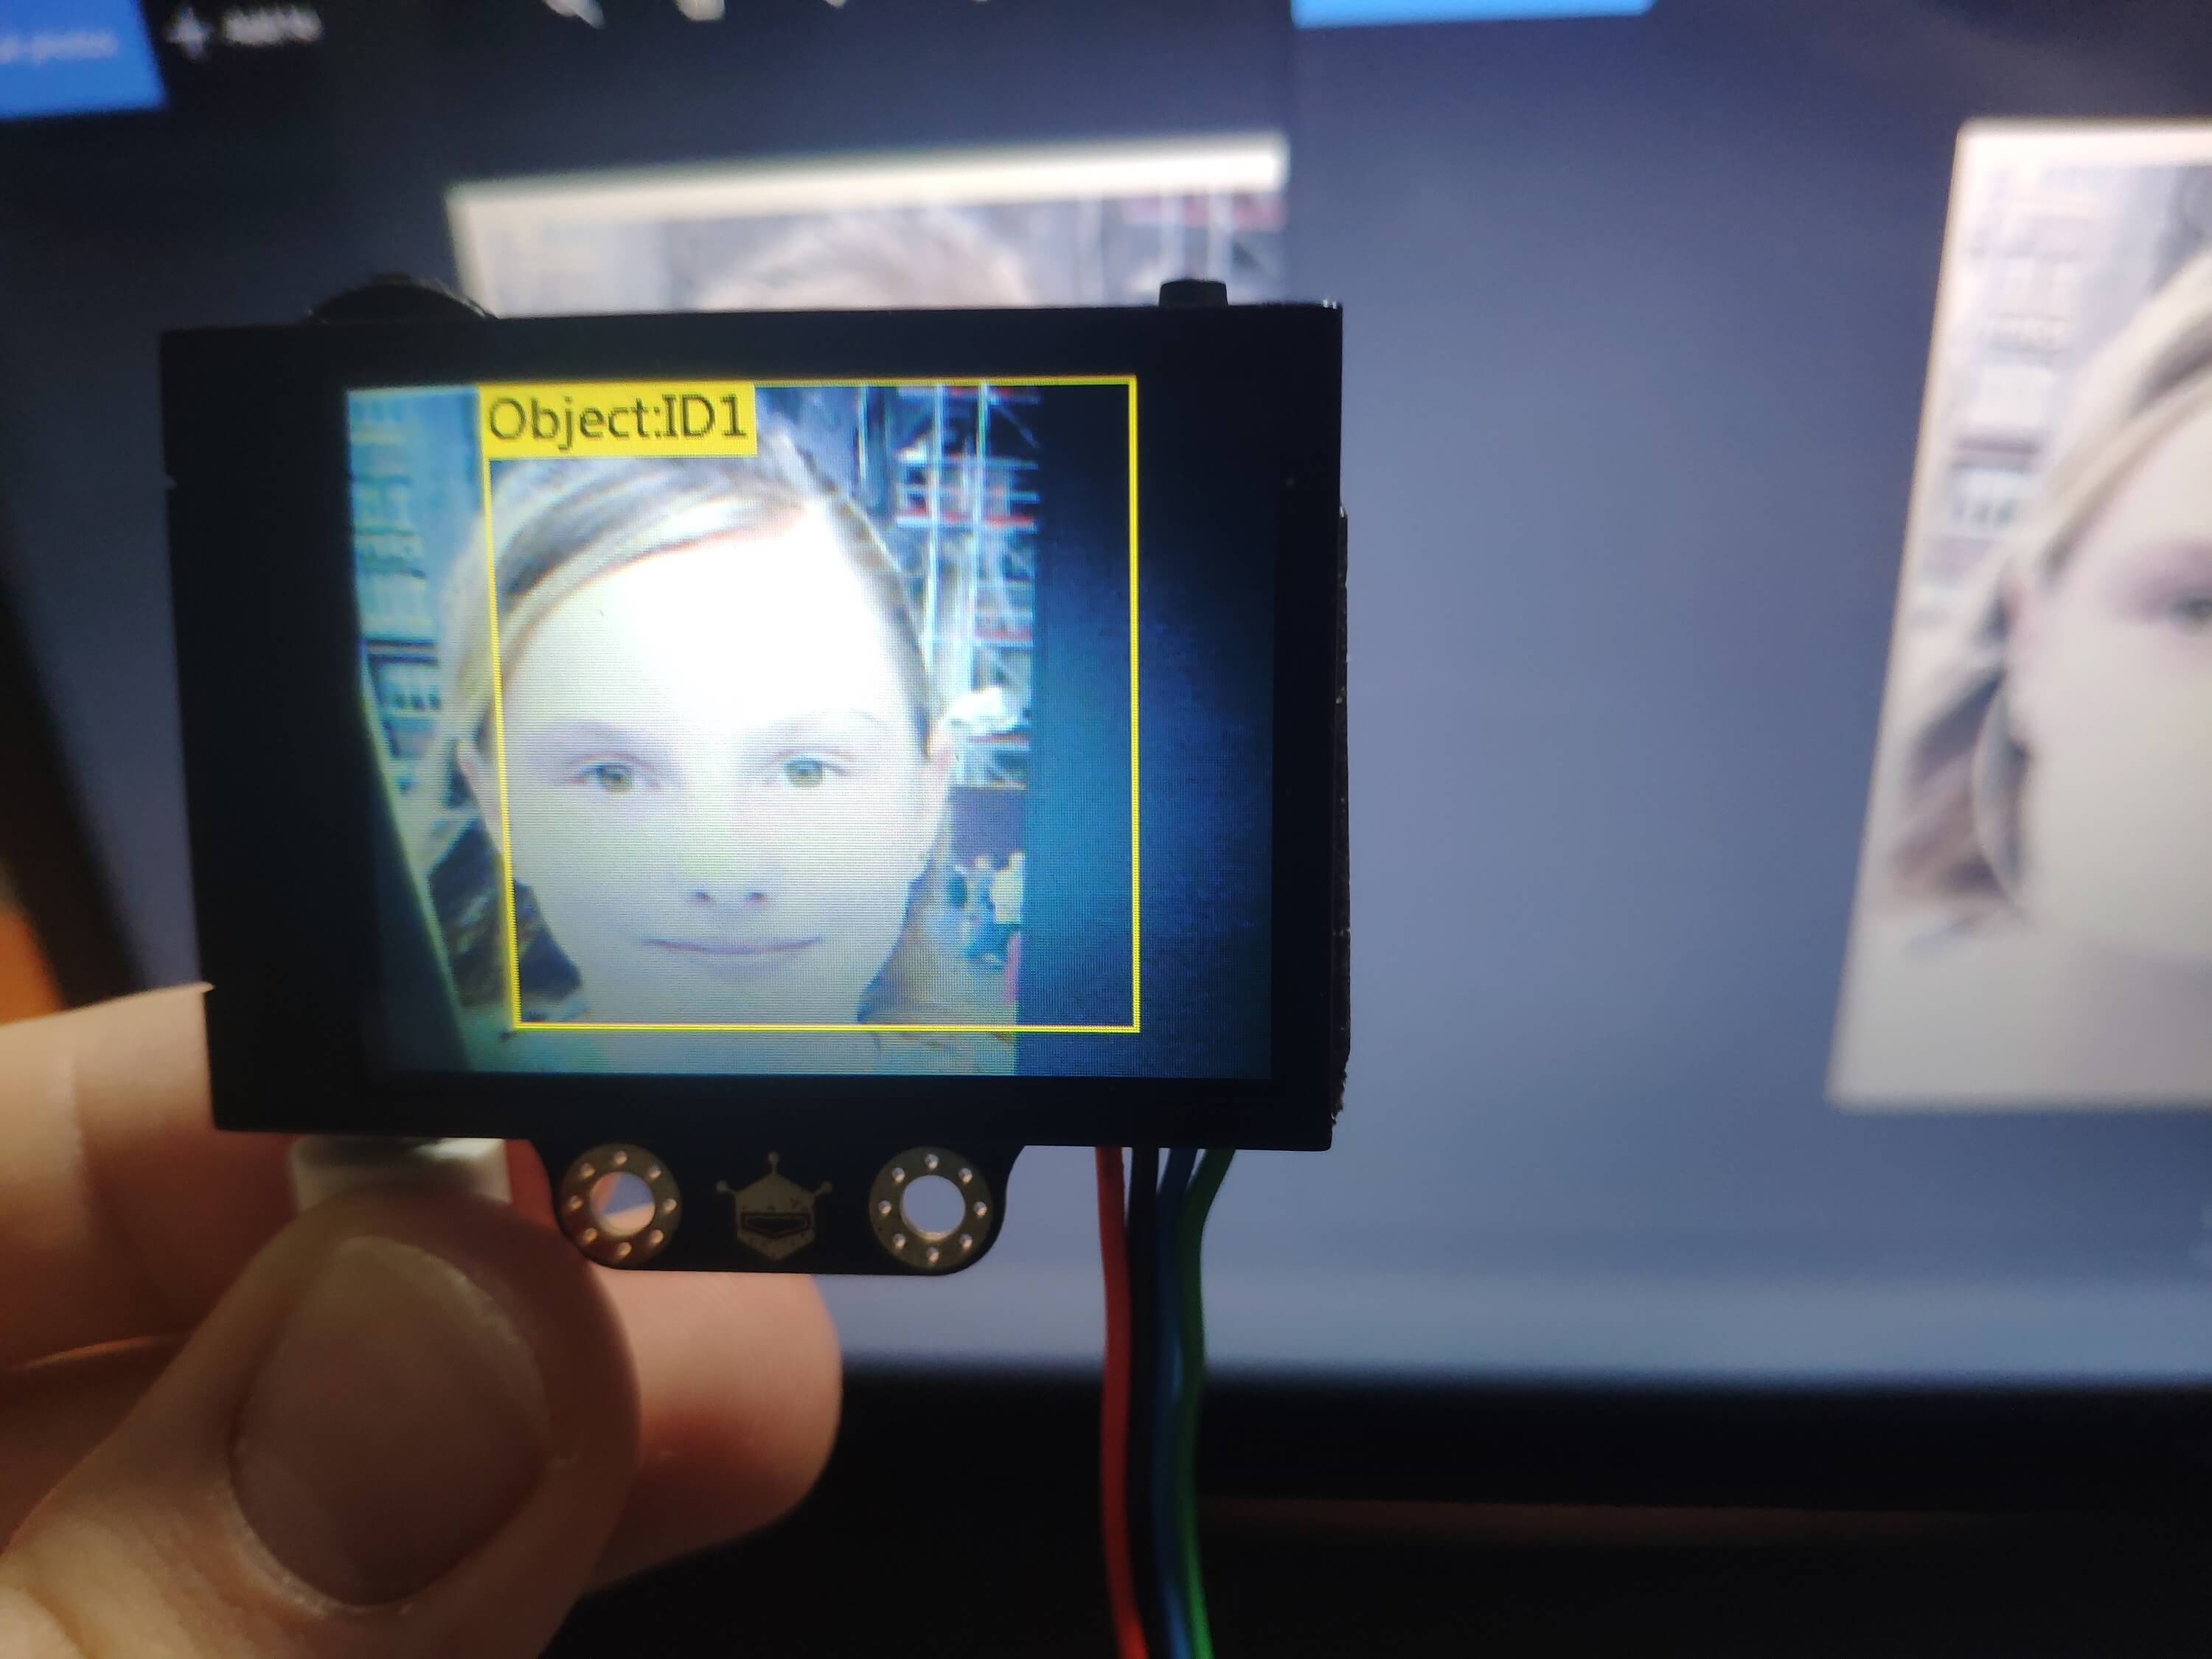
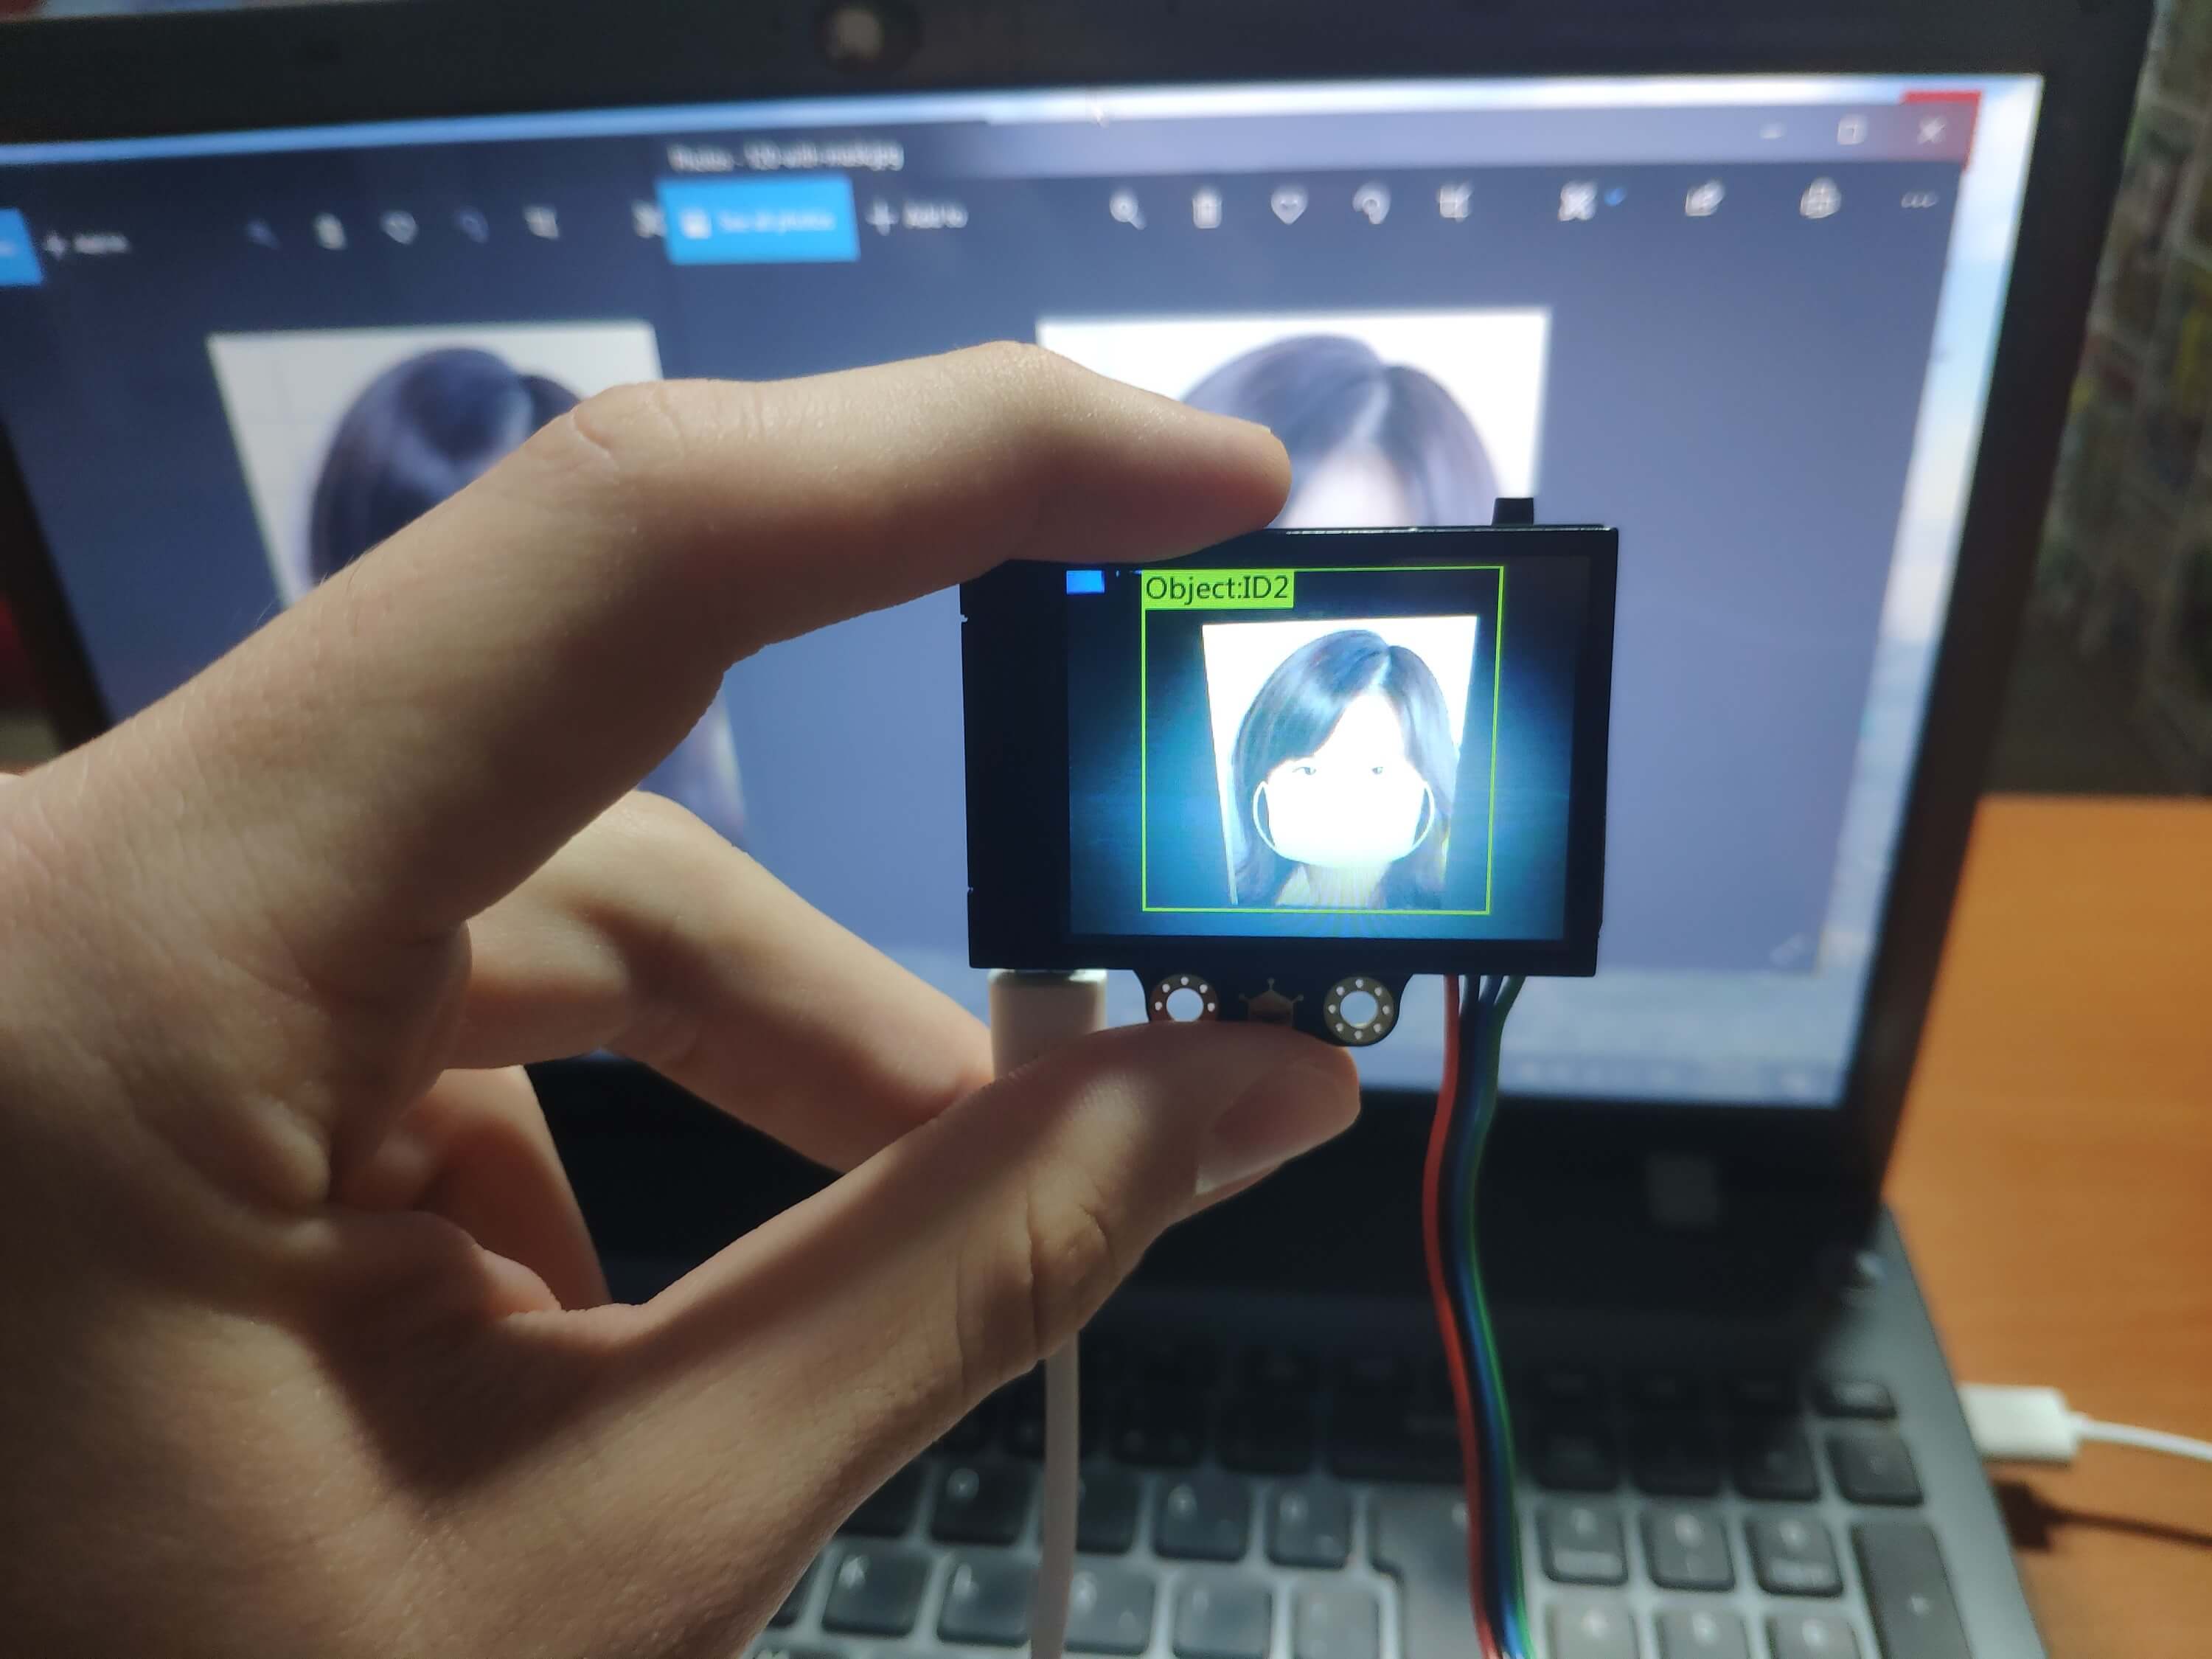
⭐ Finally, after training the algorithms, to conduct experiments with the object classification, point HuskyLens to different images (masked and unmasked).
To be able to send the detected blocks and object ID numbers by HuskyLens to the Raspberry Pi, we will use the I2C protocol and the official HuskyLens library. The primary protocol for communication between the HuskyLens and the Raspberry Pi is I2C. I2C protocol requires us to use the 4-Pin connector to wire ground, power, SDA, and SCL pins.
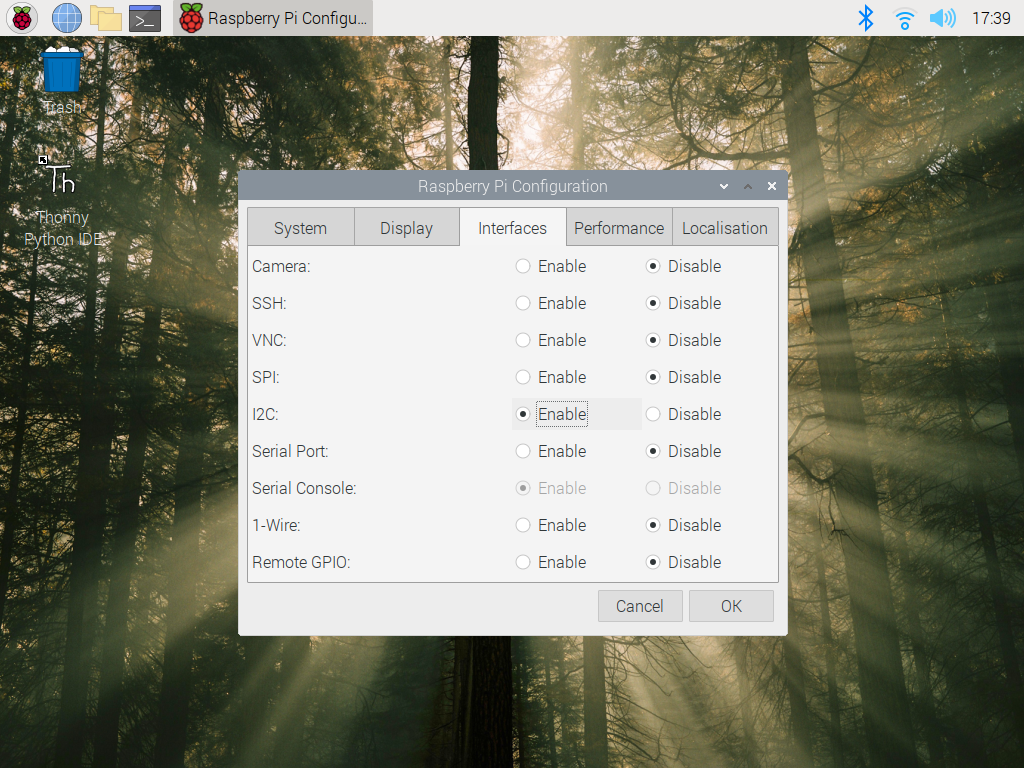
📄 First of all, open the Raspberry Pi configuration settings to enable I2C.
📄 After connecting HuskyLens, go to the General Settings and select I2C as the protocol type.
📄 Then, open the terminal and install the required modules on Raspberry Pi.
sudo apt-get install -y i2c-tools
sudo apt-get install python-smbus
sudo pip3 install pyserial pypng

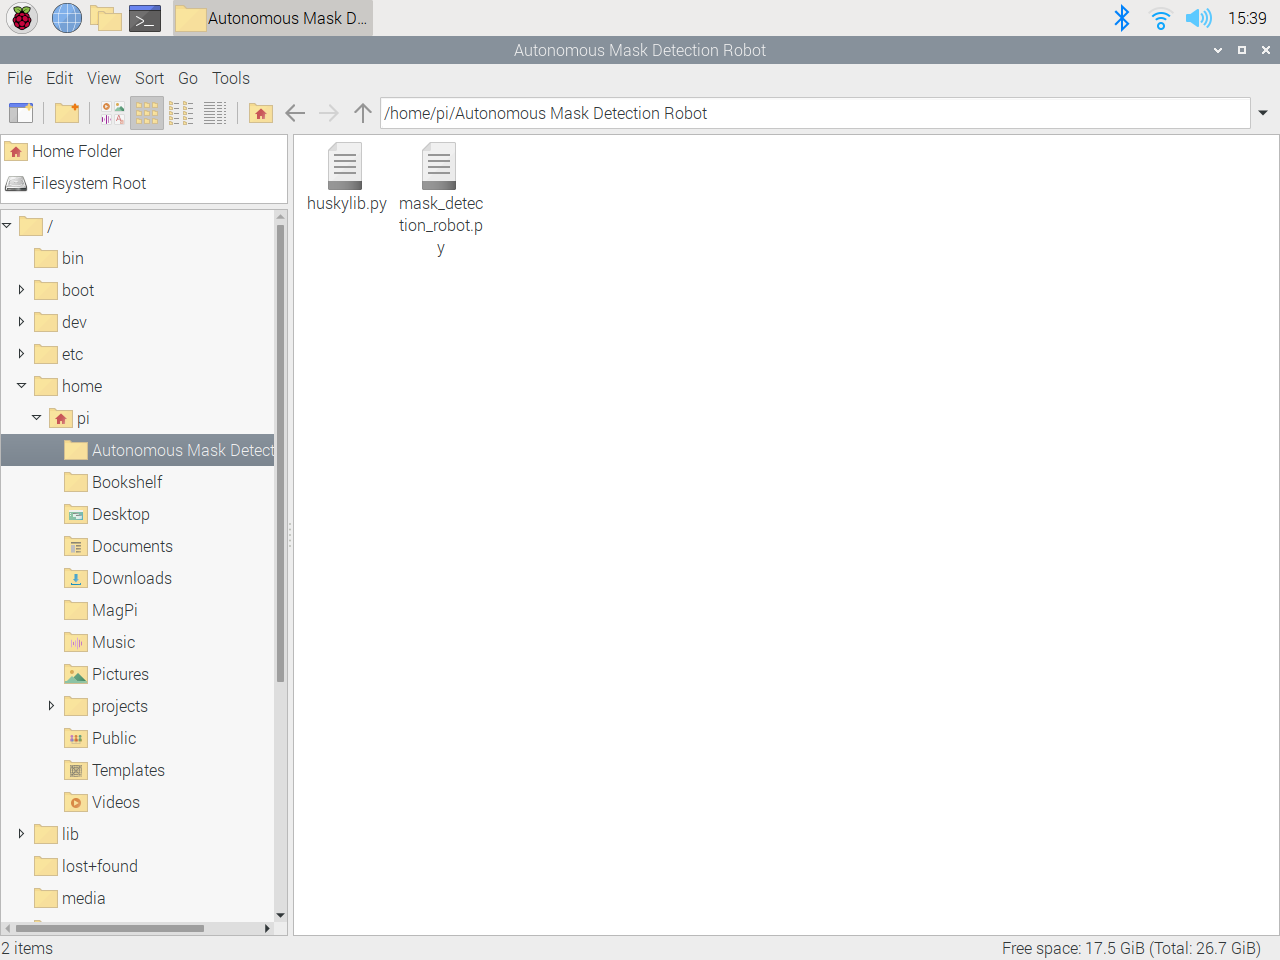
📄 Download the HuskyLens Python Library here. Then, place the huskylib.py file in your application folder.
In coding, after importing the library, you should define HuskyLens settings to elicit detected blocks and arrows from HuskyLens. Then, you need to decode the data generated by HuskyLens - blocks and arrows.
The depicted code is a part of the Python class (Mask_Detection_Robot) I created for this project.
-------------- Python --------------

from huskylib import HuskyLensLibrary
import json

...

        # Define HuskyLens settings
        self.husky_lens = HuskyLensLibrary("I2C", "", address=0x32)
        self.husky_lens_ID = 0

...

    # Decode the data generated by the HuskyLens.
    def decodeHuskyLens(self, obj):
        count=1
        if(type(obj)==list):
            for i in obj:
                #print("\t " + ("BLOCK_" if i.type=="BLOCK" else "ARROW_") + str(count) + " : " + json.dumps(i.__dict__))
                self.husky_lens_ID = json.loads(json.dumps(i.__dict__))["ID"]
                count+=1
        else:
            #print("\t " + ("BLOCK_" if obj.type=="BLOCK" else "ARROW_") + str(count) + " : " + json.dumps(obj.__dict__))
            self.husky_lens_ID = json.loads(json.dumps(obj.__dict__))["ID"]

...

        # Get the recently read block from the HuskyLens to detect the object ID.
        self.decodeHuskyLens(self.husky_lens.blocks())

...
Result:
You can inspect my electronics project in which I used the DFRobot HuskyLens AI camera to detect people without a mask from here.